|
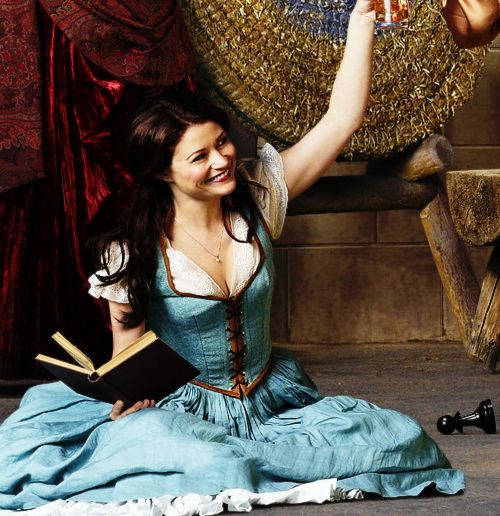
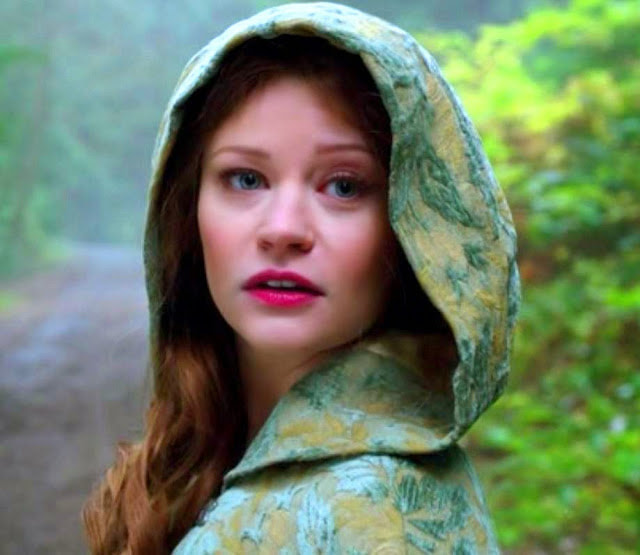
Since finishing the winter dance costumes, I've been working on really exciting new project - a five piece cosplay of Belle from Once Upon a Time. The finished set will include her blue corset and skirt with blouse and petticoat and her teal and gold traveling cloak. This is a costume I've had some experience with, having worked on a handful of Belle's blue dress costumes, as well as a version of the traveling cloak. These pieces have some fun details that I don't often use in modern clothing, like boning the corset and hand pleating the skirt (more about that in my next post!)
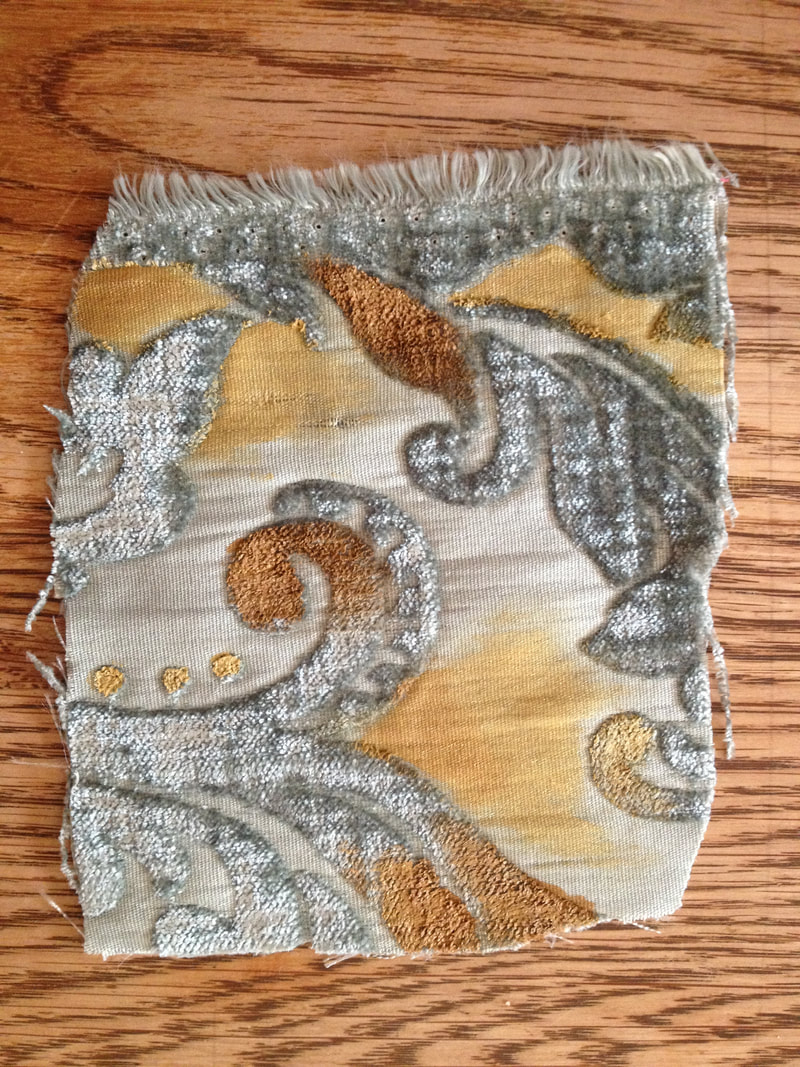
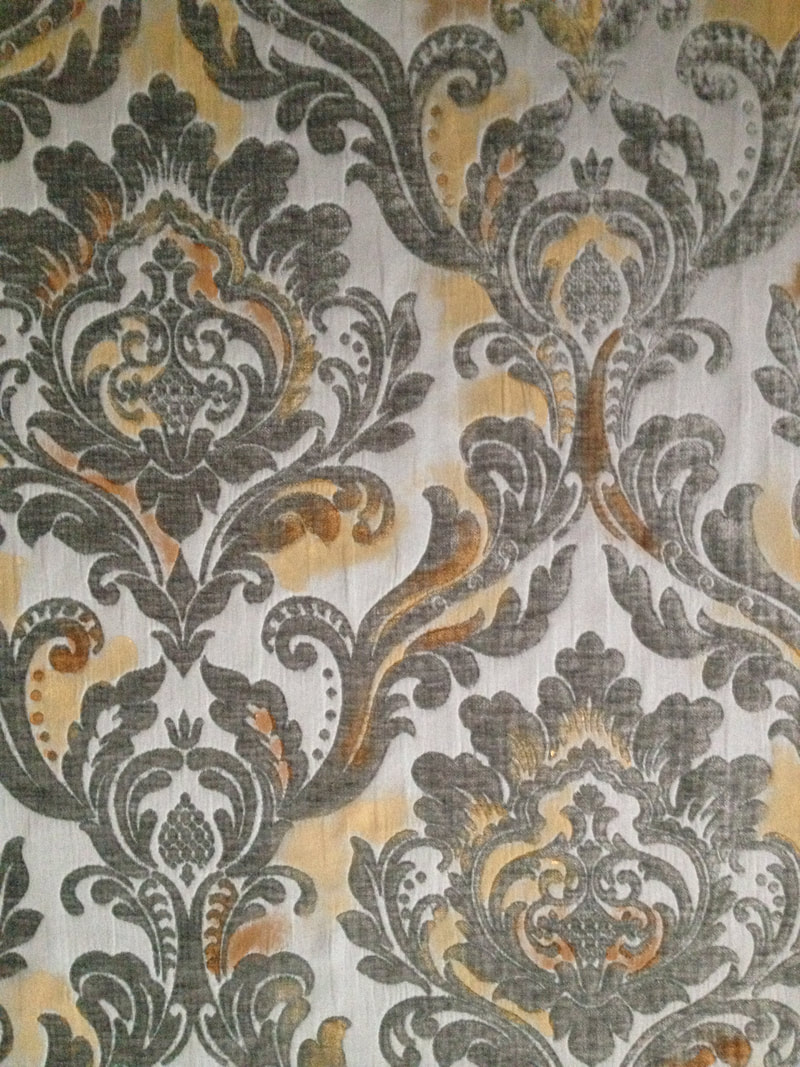
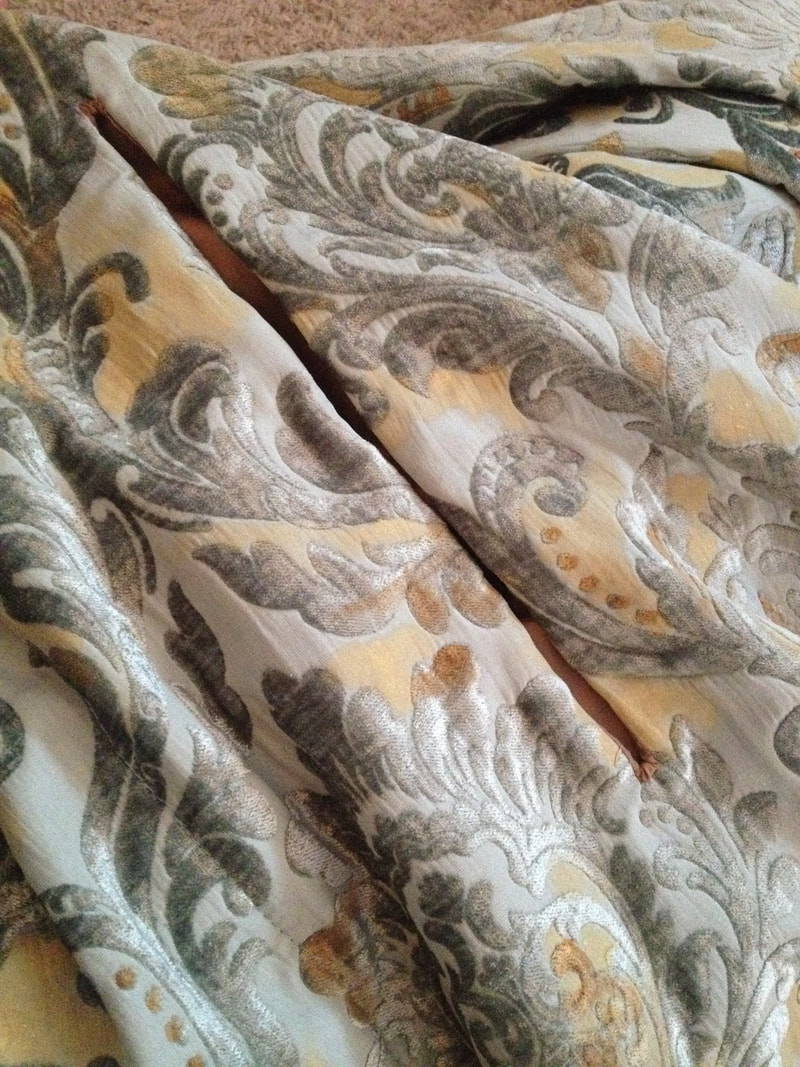
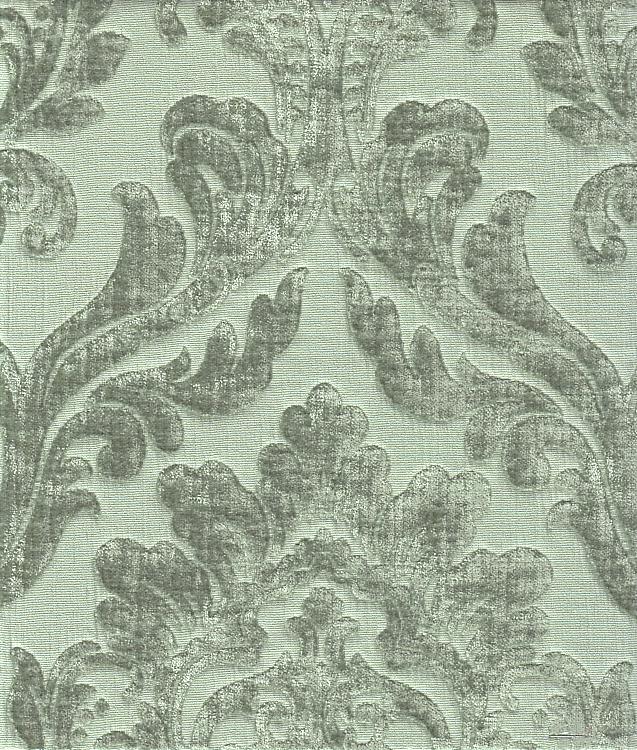 For this set, I started with the cloak. Besides the version of Belle's cloak I worked with, I also did some work on several versions of Ruby's red cloak, which takes a very similar process. I wasn't able to find an exact match for the cloak material, so my client and I decided to start with a base teal material and paint it with several shades of gold. You can still buy the material used on the show for Ruby's cloak here, a gorgeous double sided velvet damask, and I found that it also came in a teal color very close to Belle's cloak! The texture and weight of this material is great for a cloak - it drapes and moves well, and catches the light in really interesting ways. Then I came to painting, which was the most time consuming part of this process. I used two different shades of gold to add a little more depth. In Belles original cloak, the pattern is less symmetrical than in the material I used, and is very floral, so I used the paint to both highlight bits and pieces of the floral aspects of the damask pattern, and create more asymmetry. Six yards of material later, I was pretty happy with the result!
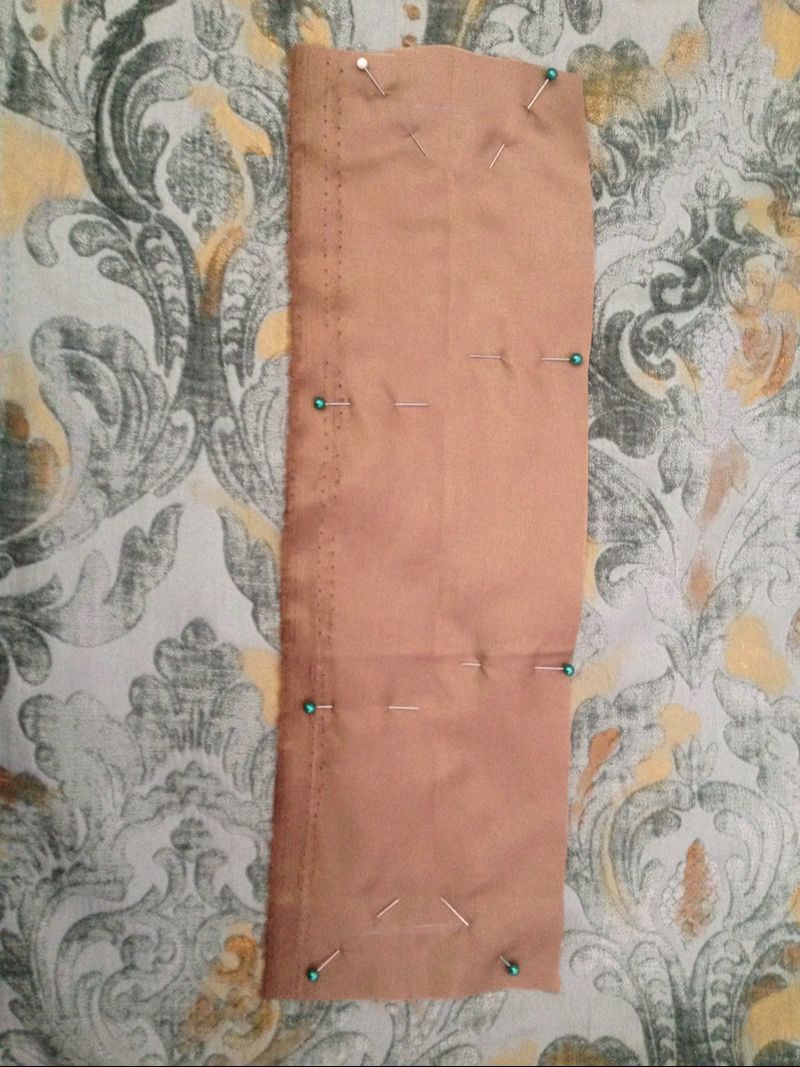
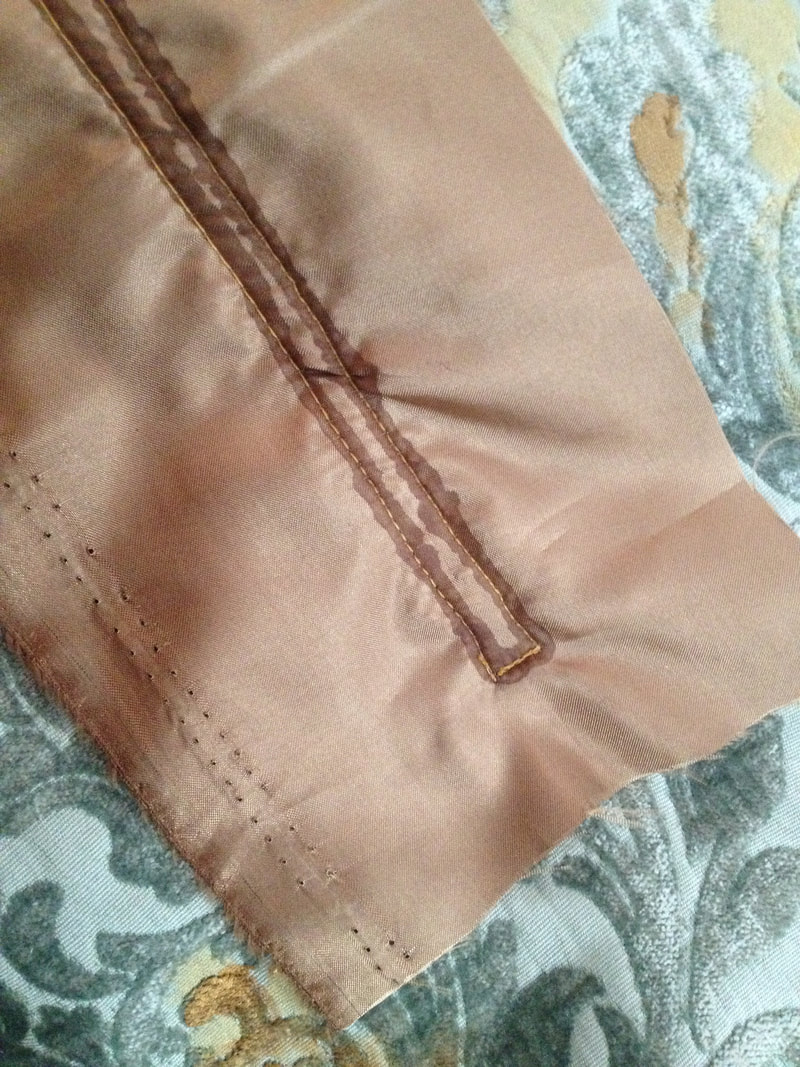
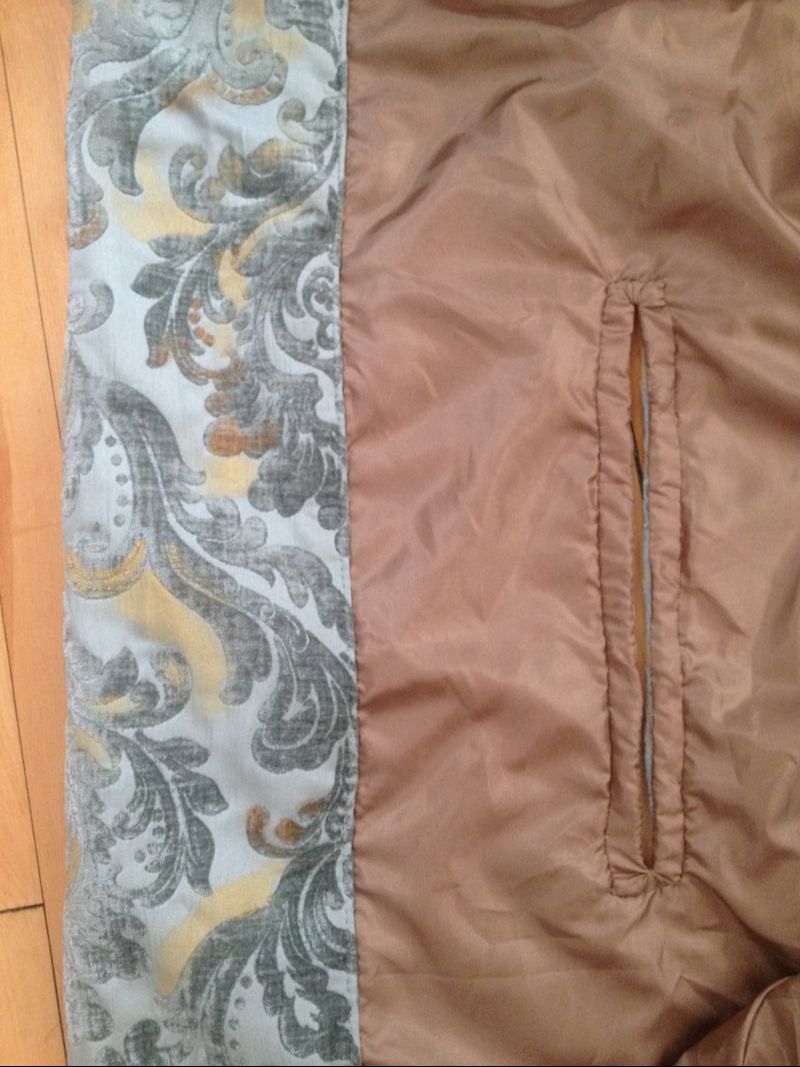
Once I finished painting the material, I started building the cloak and hood. The hood has a deep brim – lined with interfacing – that helps it stand out from the face. It was difficult to tell from pictures whether that separate piece continued down the front of the cloak, but it seemed like the pattern of the material continued uninterrupted to the edges, so I opted to create a deep hem down each side of the front instead. 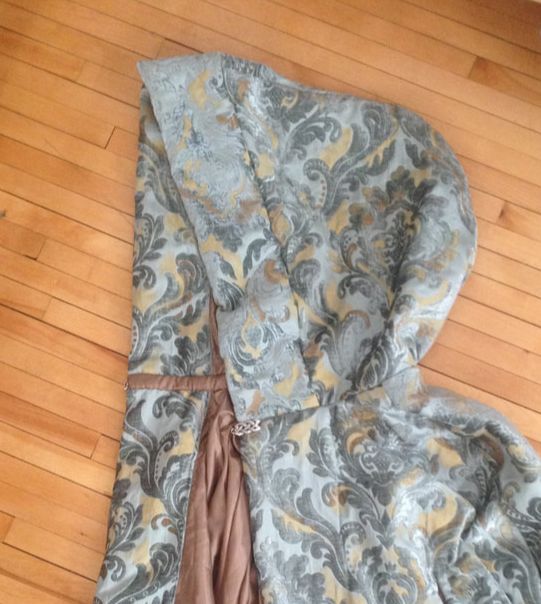 There's also a deep hem around the bottom of the cloak. Because the hem is slightly rounded, I gathered the edge of the damask just a bit to ease it into the lining. Because this material is so heavy, a normal running stitch would almost certainly break, so I used a trick I picked up from a good friend: zig zag stitch over a piece of dental floss and use the floss to gather the material. Works like a charm! 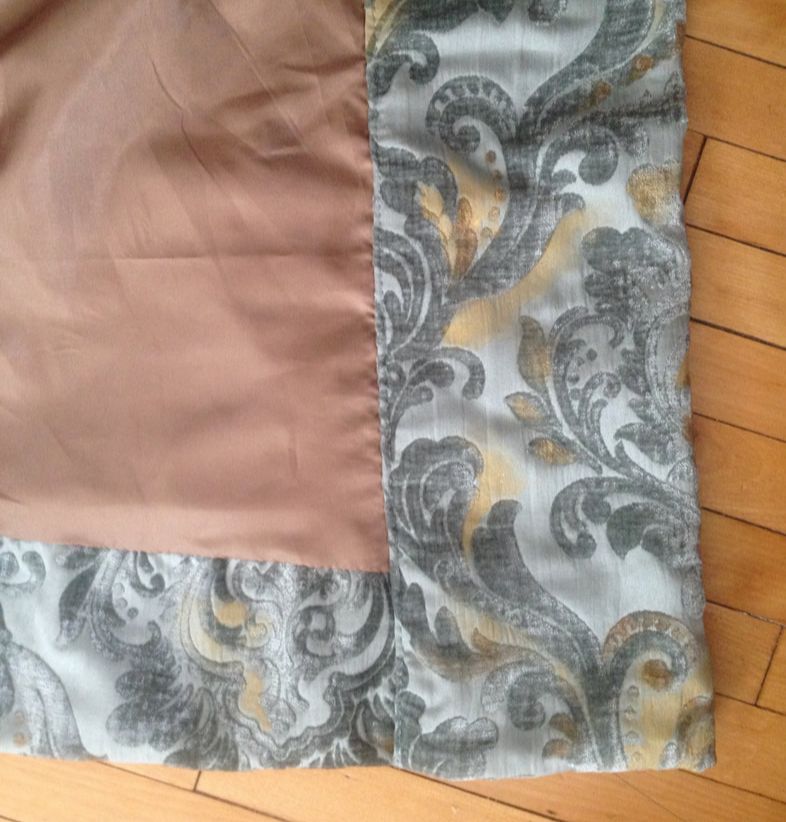 The final task was to create slits in the front of the cloak for arm holes. A great way to finish a slit like this and keep it almost invisible on the outside of the cloak is to use the same method you would for a bound buttonhole. First, I measured and marked my slits on the right side of the cloak, and pinned on a narrow strip of lining material. Next, I sewed a narrow box around the line for the slit, reinforced it with fray check for a little extra stability, and cut down the center through all the layers of fabric.
Finally, I urned the lining piece through the slit to the inside and hand stitched it down, leaving the almost invisible slit on the outside, neatly finished edges, and a narrow band inside. This is a process I've used quite a bit in my sewing. I really don't like making traditional buttonholes, or really like the way they look finished. So even though this process is a bit fussier and more time consuming, I'm always much happier with the finished product!
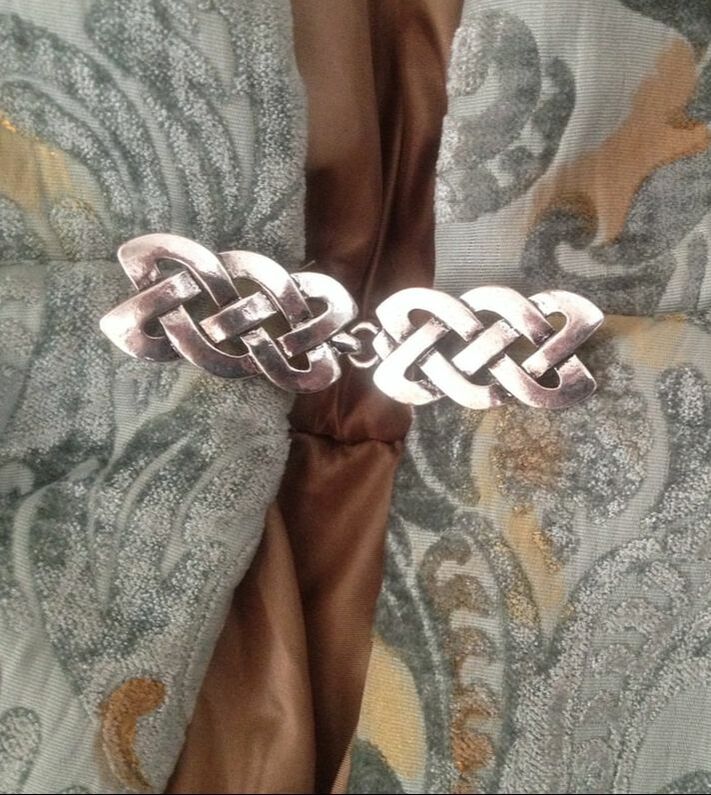
The last step for the cloak was to finish the inside of the neck seam and add the clasp. Most of the pictures I found of the cloak had been color adjusted, and I've seen versions of this cloak made with both silver and gold Celtic knot clasps. Going through the original episode, I was fairly sure it was silver, and I found this clasp that looks identical to the one used on the original cloak.
And the first piece is finished! I'm so excited to see the whole ensemble together!
1 Comment
Anna O.
3/5/2019 11:51:15 am
It has been SO much fun to watch this process unfold on your instagram. So excited to see the finished costume! <3 Your comment will be posted after it is approved.
Leave a Reply. |
Design BlogThis is the place to find projects in process and get a glimpse inside of my work. Archives
December 2020
Categories
All
|

 RSS Feed
