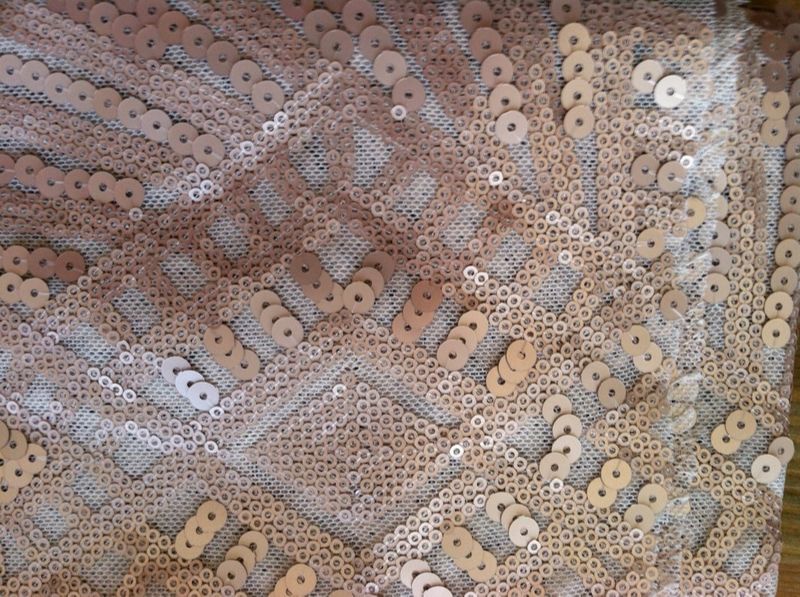
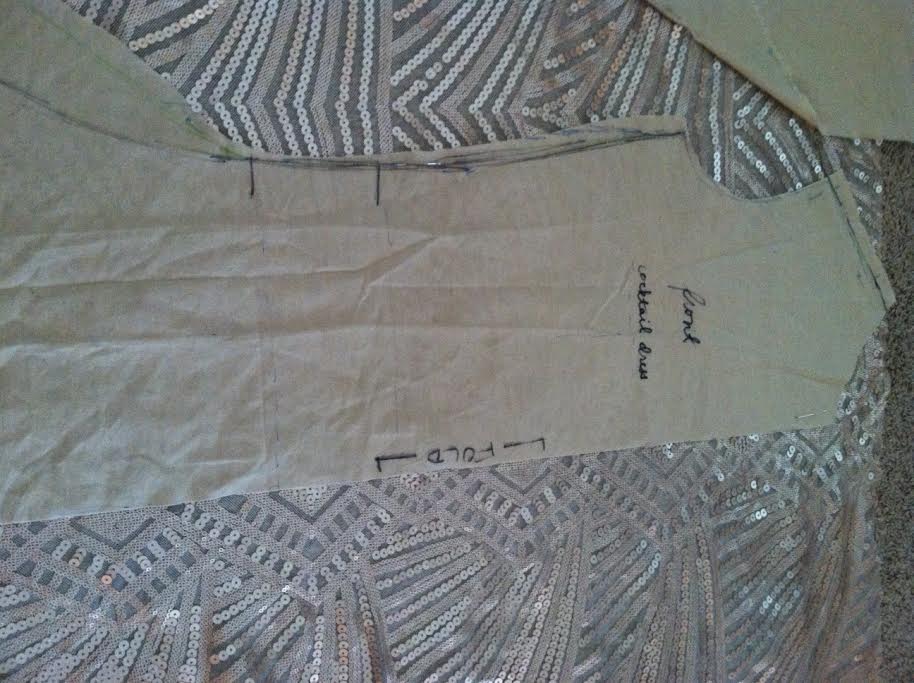
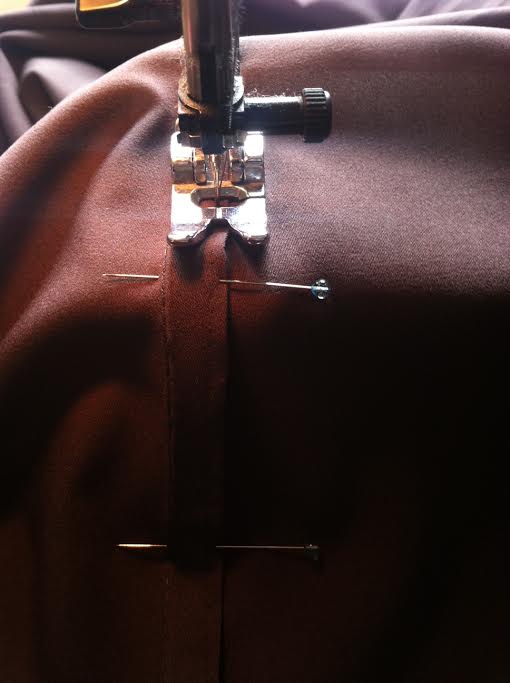
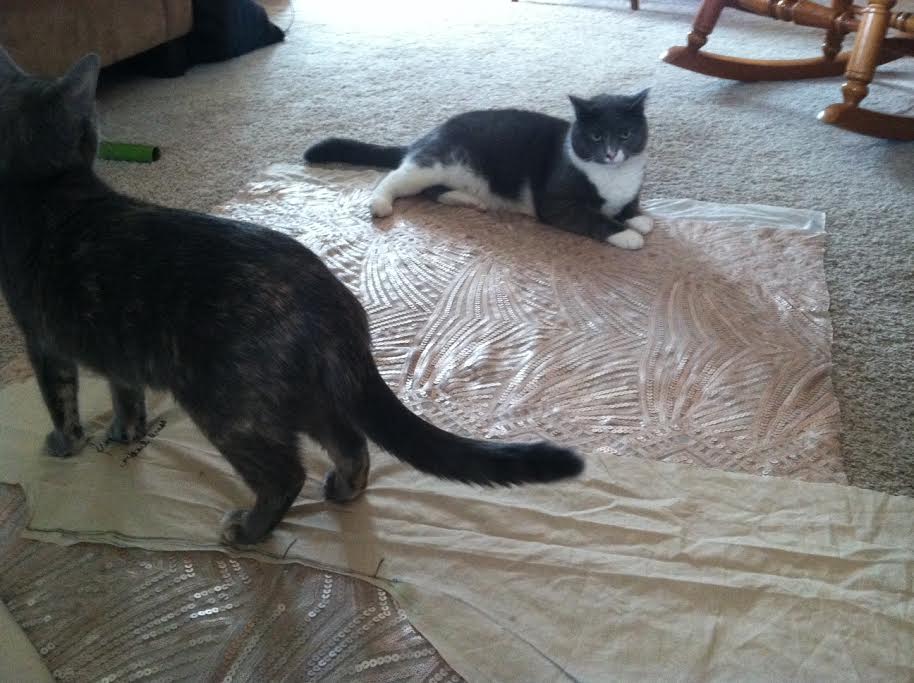
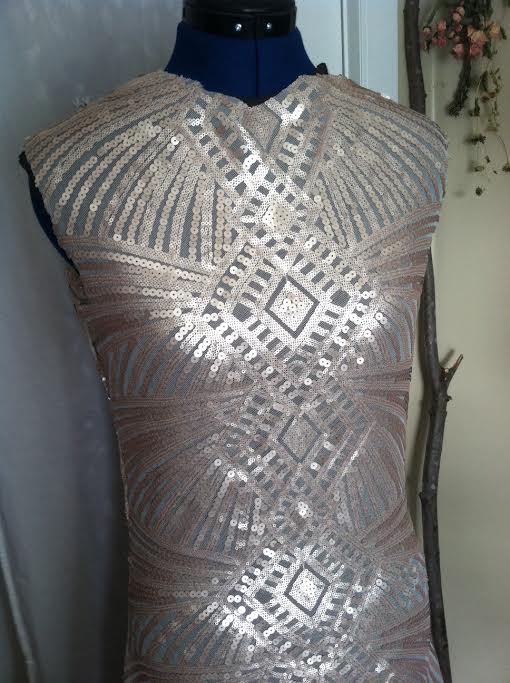
My first step was to create a muslin for the dress - essentially, make the entire dress in inexpensive muslin so I could fit it on myself, and then use that as my pattern. I started by draping the basic shape on a dress form, then basted it together and adjusted the pattern on myself, and finally used that to cut out the lining. I fitted the lining once more on myself before cutting out the top layer. The fitting point that defined this design was across the top of the hips, creating a dropped waist, a slightly blousey top, and a point from which the rest of the skirt would flare out. The way I laid out the pattern was determined by the repeating sequin design. I waited to finish the armholes and neckline until I could fit both the lining and top fabric on myself, then used the design of the sequins as a guide for my cutting lines.
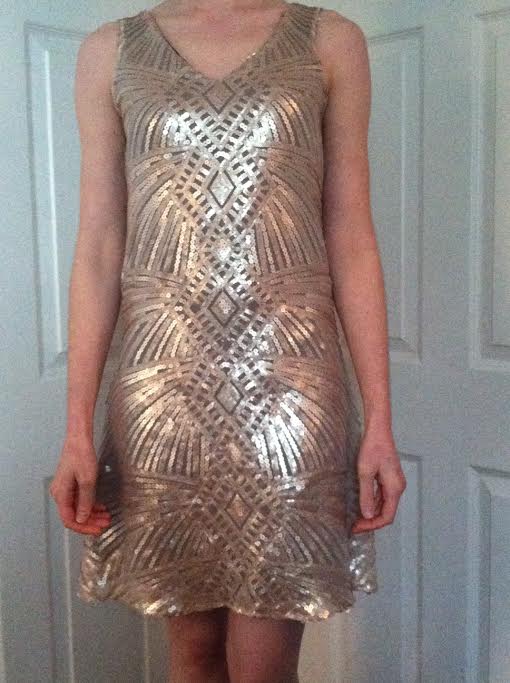
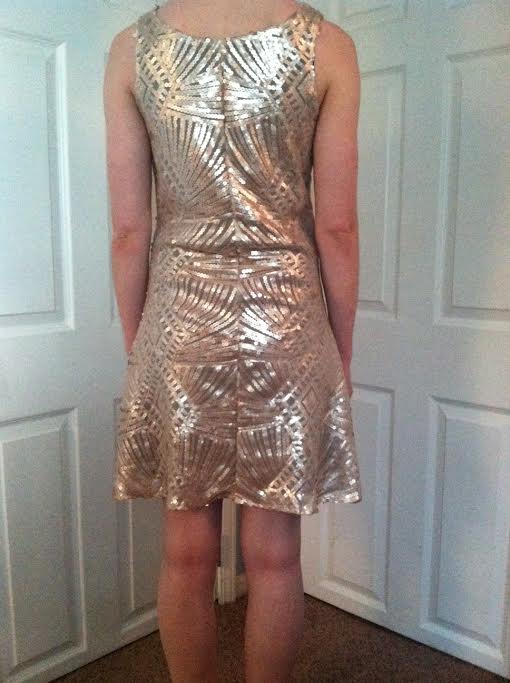
And the final product! Not only does it lay exactly the way I intended, it's also quite comfortable, and lightweight enough for hot summer days. A fun statement piece to add to my wardrobe, with enough of a vintage flair that it shouldn't fall out of fashion too quickly.
0 Comments
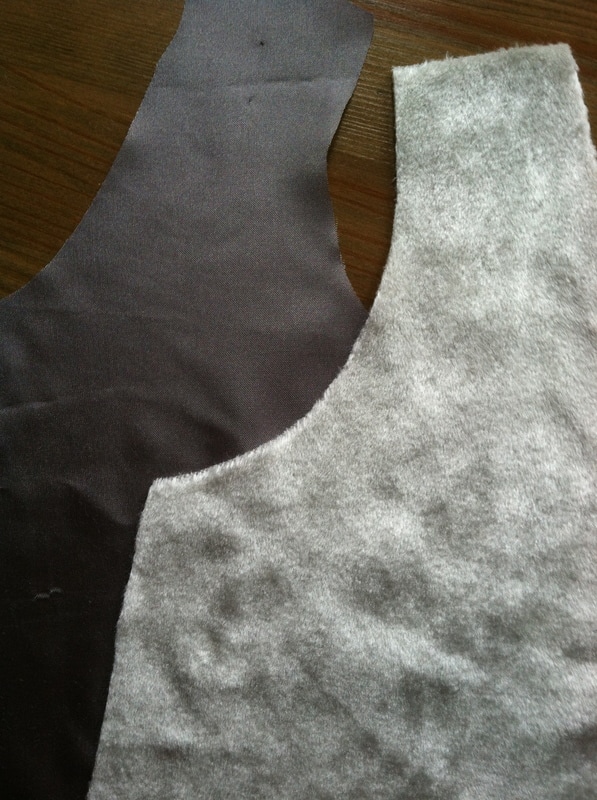
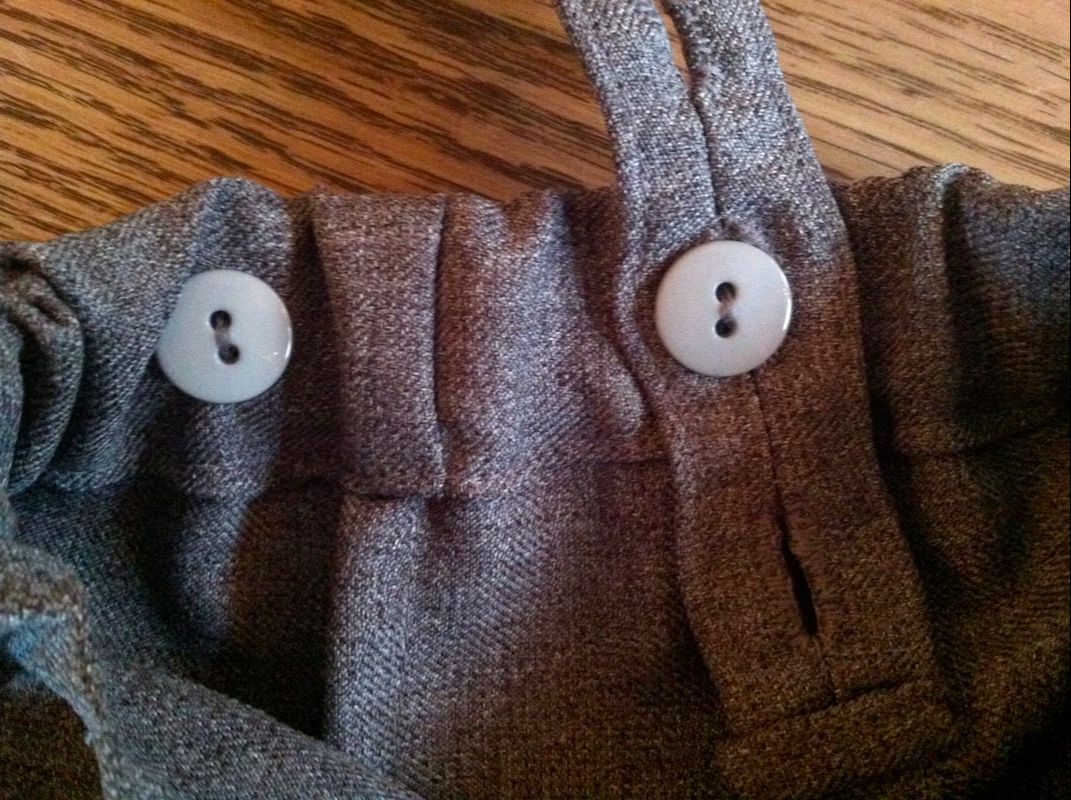
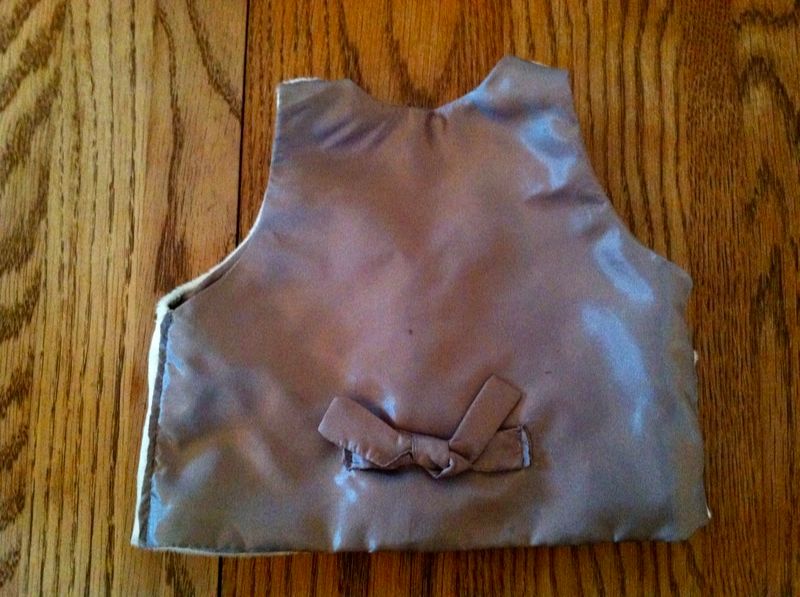
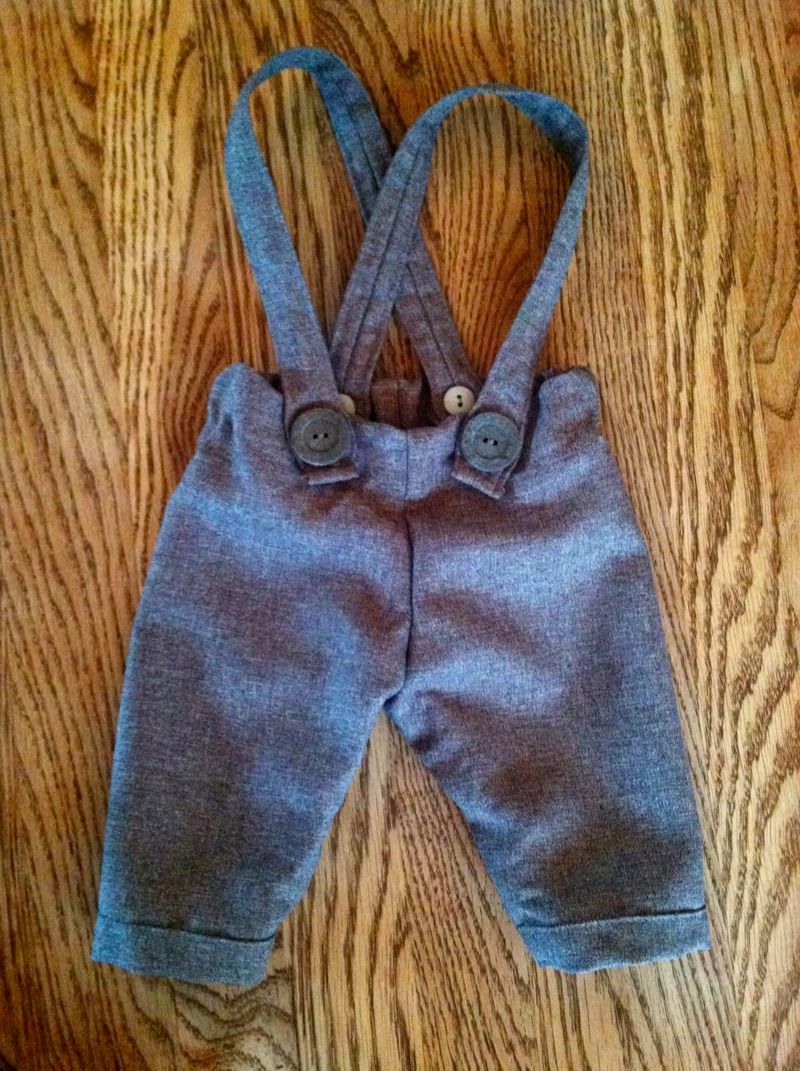
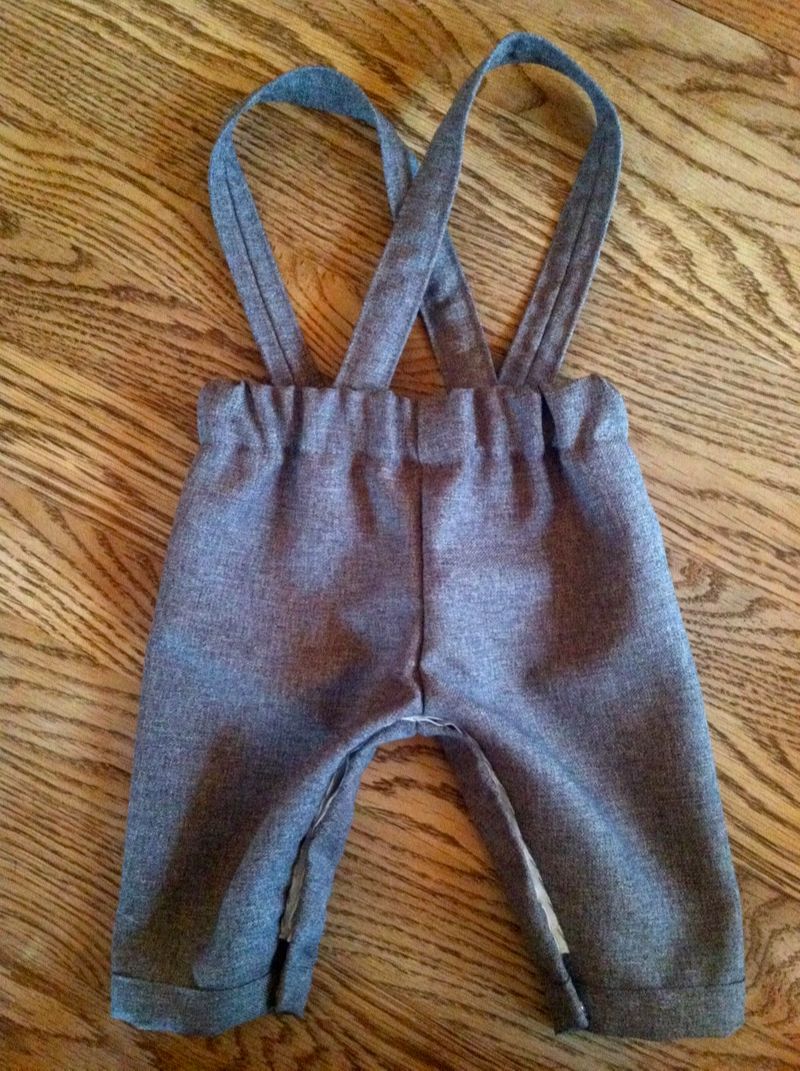
One of my favorite-ever projects was a baby dedication dress, crafted from her grandmother's wedding dress. (Check out the blog post here!) Now, almost two years later, I had the honor to make a dedication outfit for her younger brother! We wanted to keep the outfit simple, and find a way to use grandmother's wedding dress fabric - not quite as easy with crushed velvet on a little boy. We opted for two pieces, a vest out of the dress material, and a pair of suspender trousers in a darker grey suiting. I love how it came together!
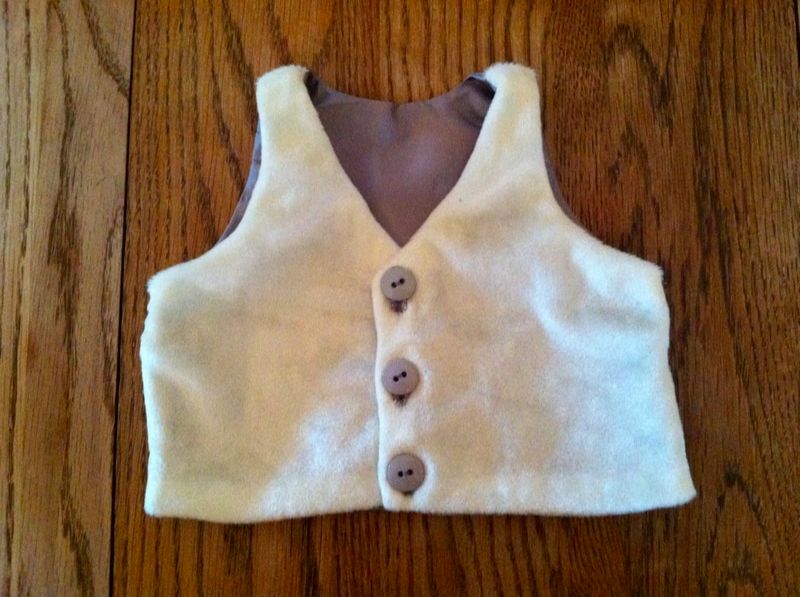 Completed vest. Contrasting buttons match the lining material and coordinate with the trousers.
|
Design BlogThis is the place to find projects in process and get a glimpse inside of my work. Archives
December 2020
Categories
All
|

 RSS Feed
