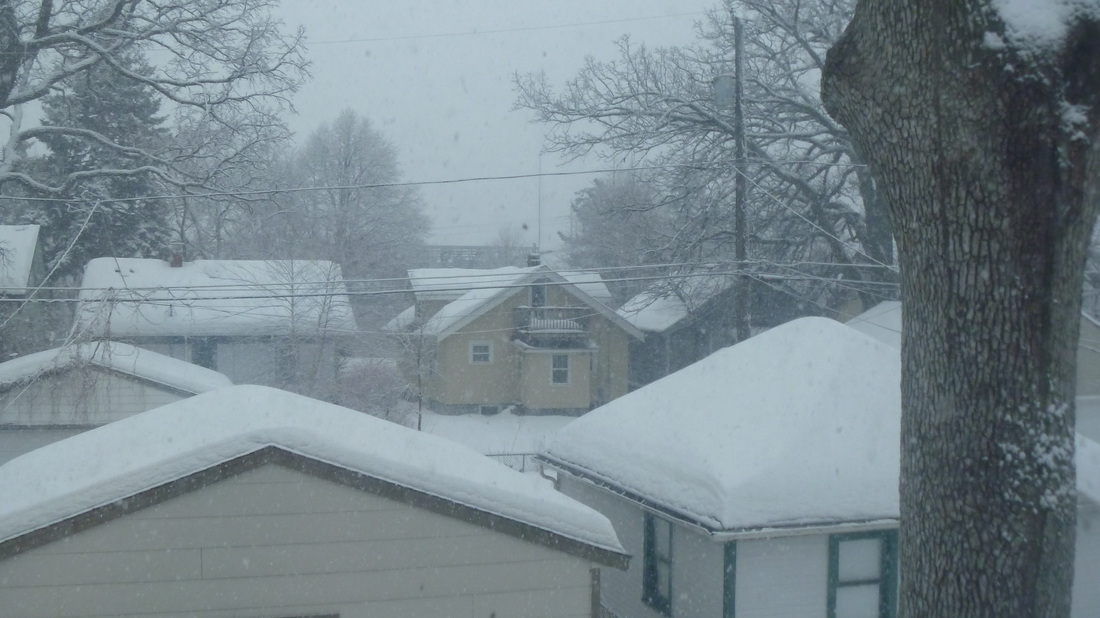
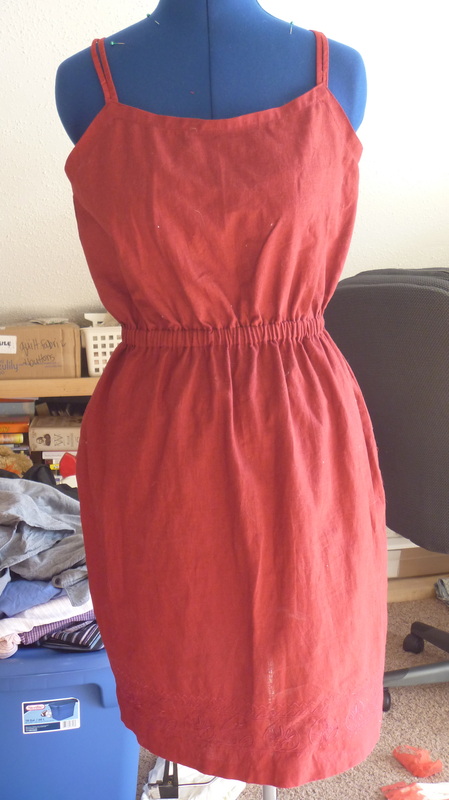
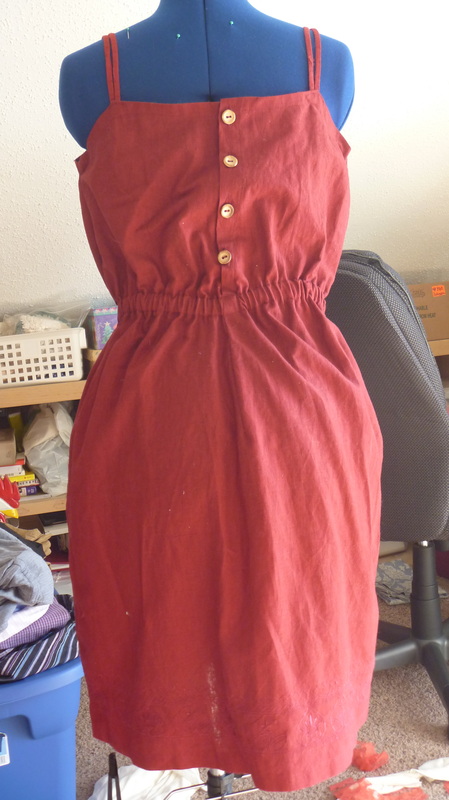
 Nothing like a good Minnesota blizzard to get me in the mood for spring! But really. It's been a long, cold winter here, and although it's finally been consistently above zero for the last few weeks, it's definitely not feeling like spring is coming anytime soon. I don't know about anyone else, but I sure need some hope that I didn't step into Narnia, pre-broken curse! When I was thrifting last weekend, I found this skirt, and immediately saw a sundress taking shape before my eyes. Besides being a beautiful color, it has a subtle and lovely embroidery pattern around the hem. And until July when the snow starts melting, I can wear it with a sweater and leggings and boots and a scarf...  Here, I already removed the drawstring and elastic from the waistband. Next was fitting it on my dress form, marking out darts and the new neckline. The most complicated part was adding a button placket to the back. By bringing some of the extra skirt width to the back, I was able to create a double layer on both the side where I sewed on the buttons, and the flap I put buttonholes in. A confession: until now, I hadn't ever made buttonholes on my current machine. I usually make thin fabric loops for the buttons, but this time, I decided it was time to give it a shot. I can't say the results were stunning, but I'm definitely improving.  Finally, I added a casing around the waist for elastic, and used the drawstring that had been in the waist as straps. Looking forward to brighter, and warmer, days ahead!
0 Comments
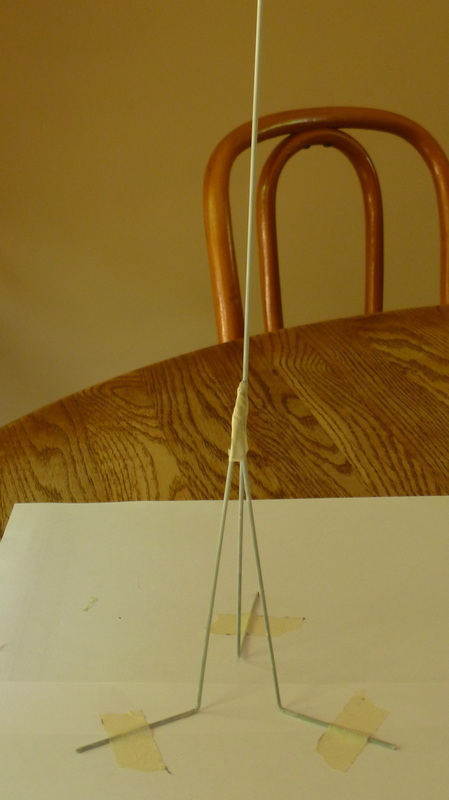
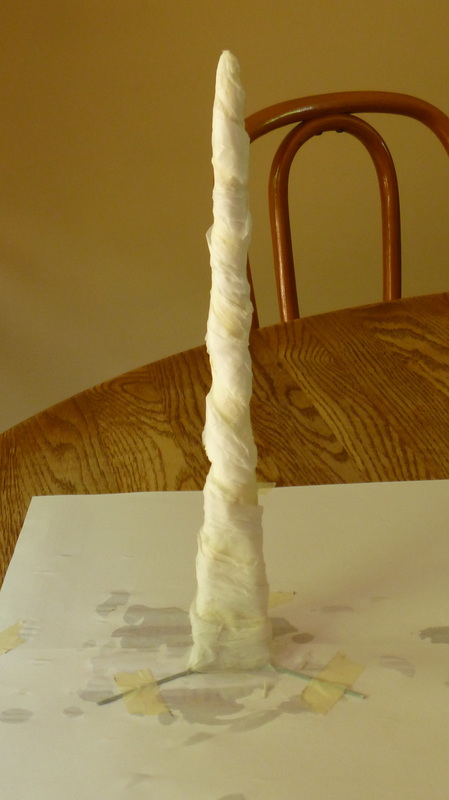
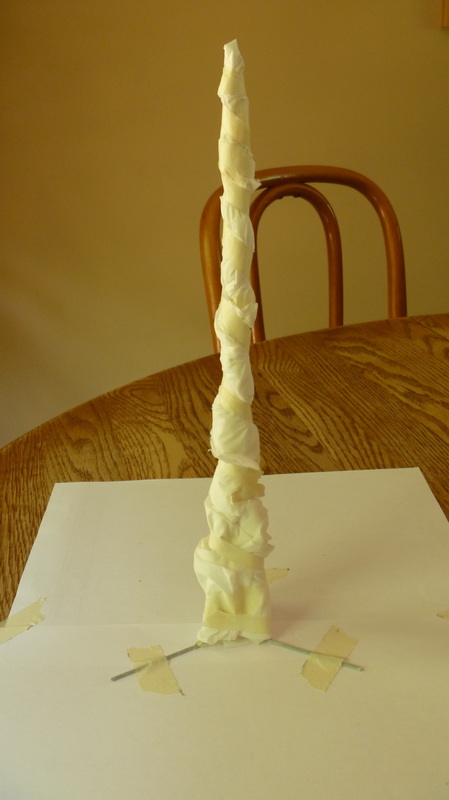
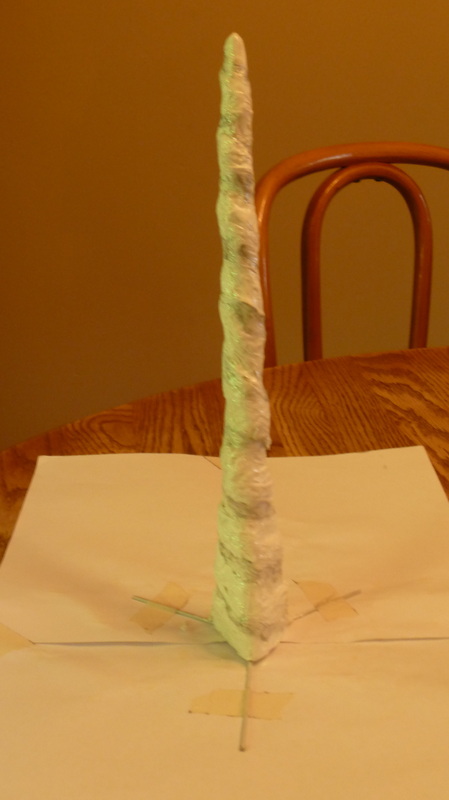
Once upon a time, I costumed Cross Community Player's production of CHILDREN OF EDEN. I came across a few project pictures I had forgotten about, highlighting two of my favorite animals. Enjoy! The first was our unicorn. As the animals had very little time to change into costume, each had just one or two pieces or accessories to add on, giving the suggestion of the animal. What else could I create for a unicorn but it's horn? Below is the process of building it from scratch, after which I mounted it on a stretchy headband. First, the wire frame, then tissue and tape to create the shape, a layer of paper mache to seal it together without weighing it down, and glittery paint to finish it off. A lightweight and inexpensive horn. Magical!
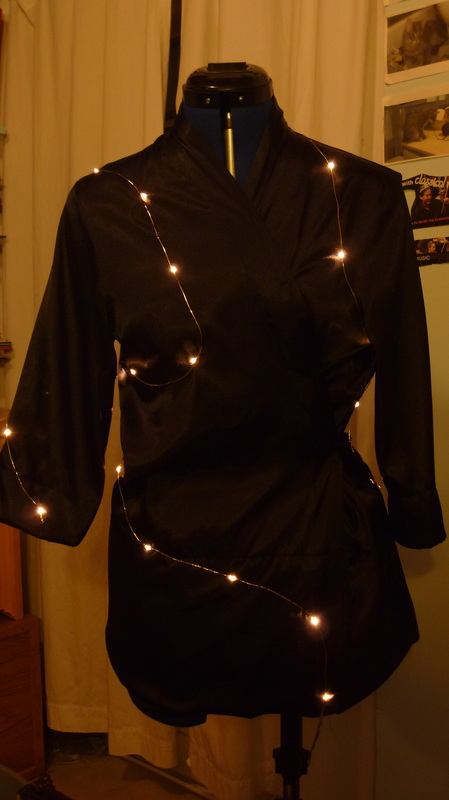
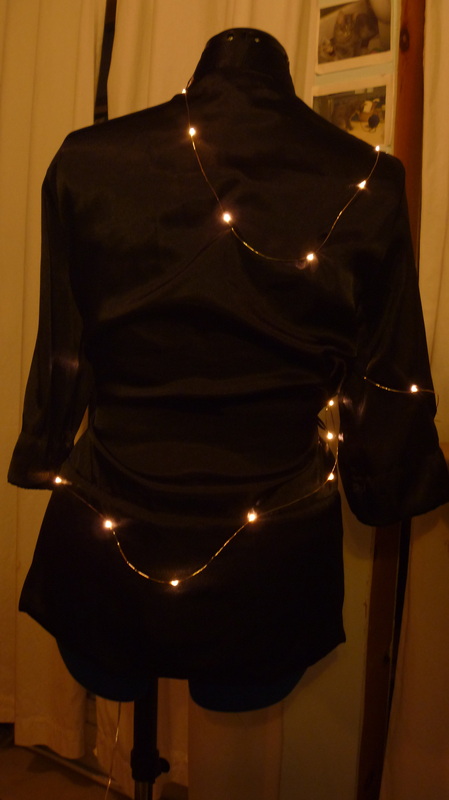
I really wanted to create fireflies for this show - and of course, fireflies must light up! Starting with a black satin kimono wrap and a string of yellow LED battery powered lights, I carefully stitched this together. The battery pack was hidden in a small pouch on the outside of one leg. Look, something shiny!
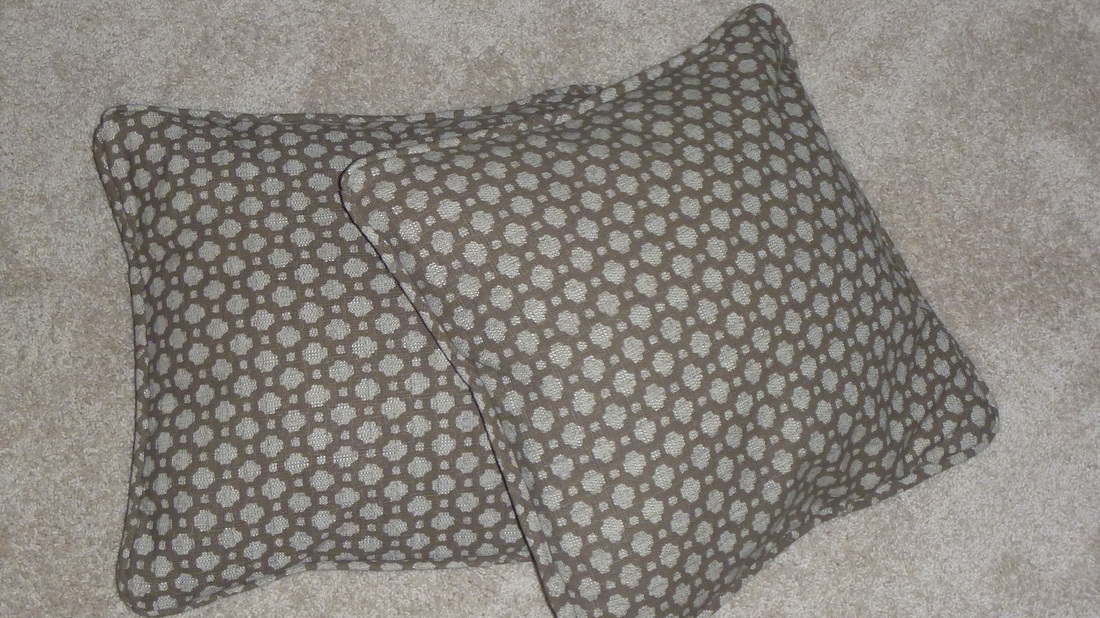
With moving into a new house a few months ago, I'm just finishing up my last few decorating projects. One was recovering a pair of throw pillows for the living room couches. I found this fabric on a great clearance, and it coordinates with our new colors much better than the current covers. 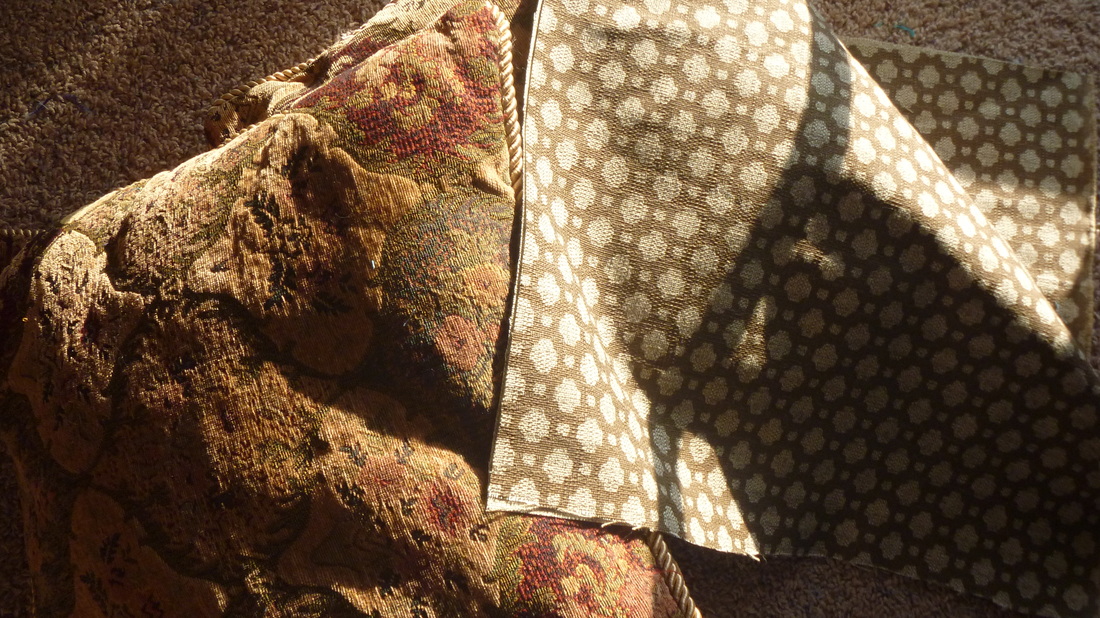
After cutting out the two sides, I wanted to add a simple binding trim around the edges, similar to the original cording, but matching the cover fabric. I cut lengths of the extra fabric on the bias, sewed the lengths into a long tube, and threaded a thin cord I had on hand through it to give it a little more bulk. I then simply pinned it into the outer seam and sewed everything together. A very simple project, and I was quite happy with the results! 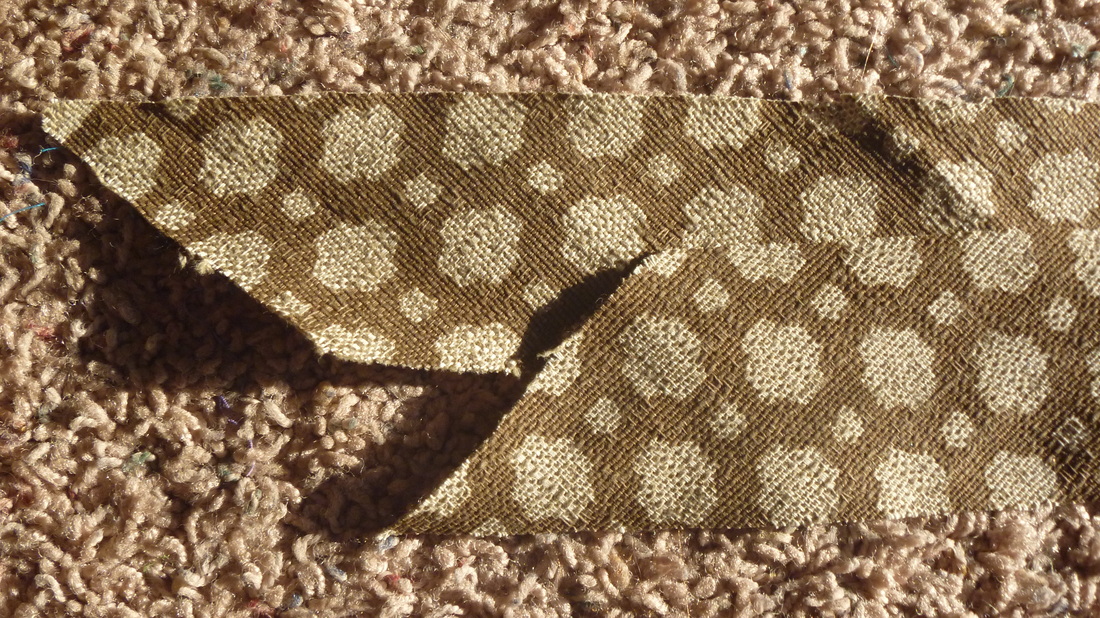
|
Design BlogThis is the place to find projects in process and get a glimpse inside of my work. Archives
December 2020
Categories
All
|
 RSS Feed
