|
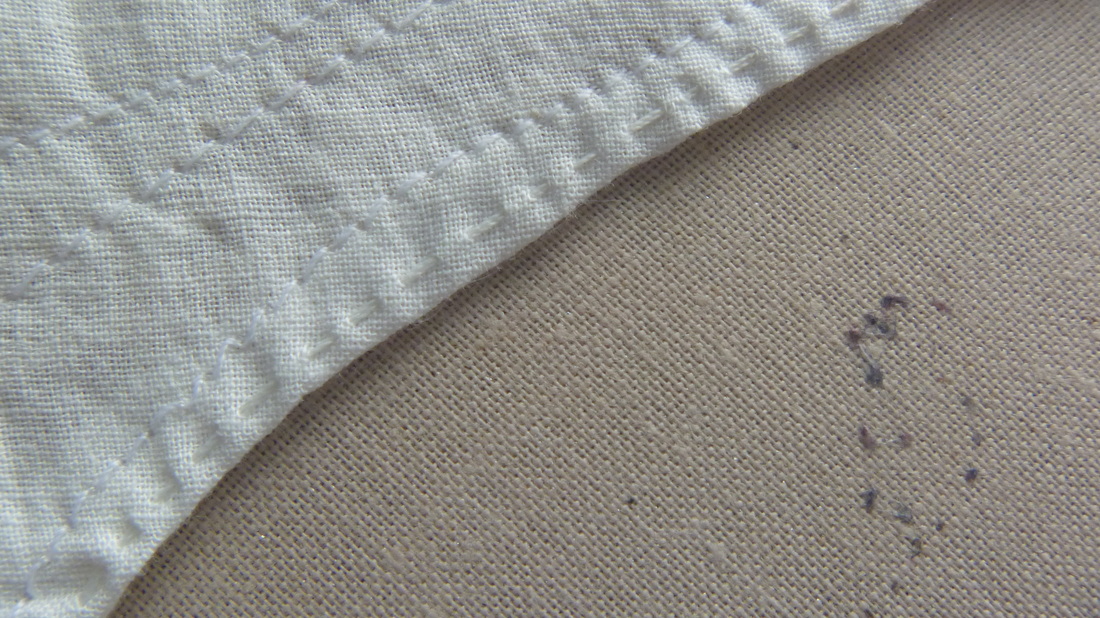
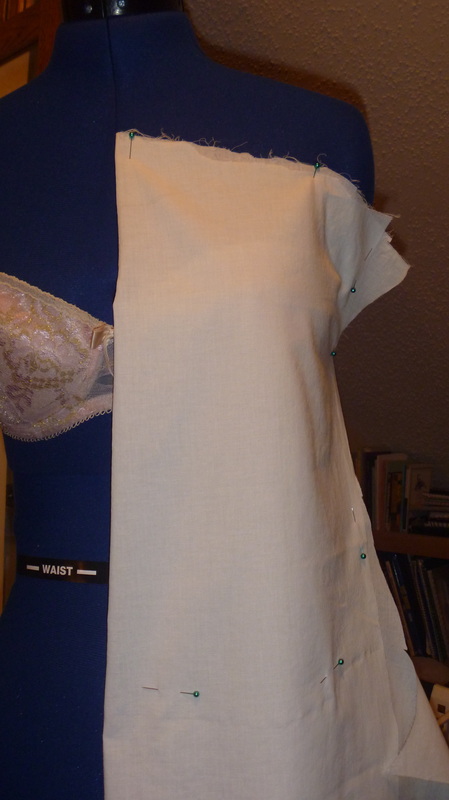
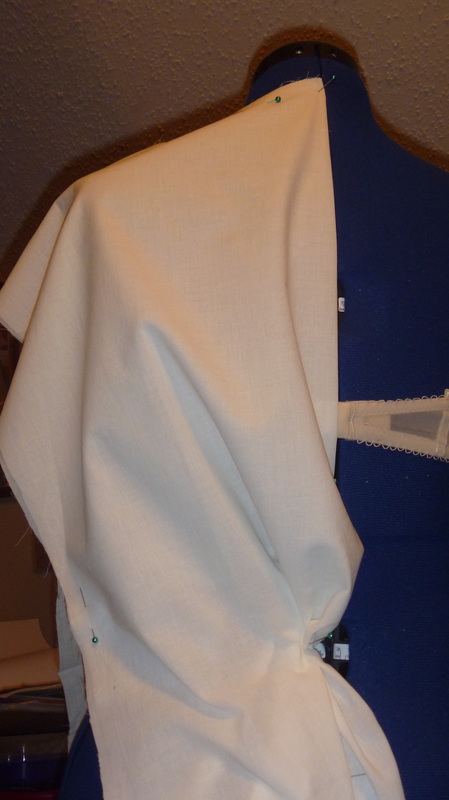
I was warned that working with leather would be harder and more frustrating than anything I've worked with before. I sort of ignored the warning - most of the time, challenges are just new adventures, right? Well. This project has tested my patience if nothing else. But I think the end product is going to be worth it! I wanted to create a simple satchel that I could throw over my shoulder (if it's not a cross body I'm almost sure to set it down somewhere and walk away without it) and to use when biking and traveling. As the leather I found was a little thicker, I decided to hand sew it instead of trying to use my machine. But it took plenty of time just to get to the sewing part. Step 1: Create a pattern. Starting with a rough sketch to decide on a shape, I then cut it out of tissue paper, to be able to make a more three dimensional version and adjust the pattern as necessary.This will have curved edges, a top zipper, several interior pockets, and a front flap with two leather "latches." Once I had my final shape and size decided, I transferred it to a heavier paper than would be easier to keep straight on the leather, as you can't use pins in leather (a hole, once made, stays forever). Leather doesn't exactly stretch, but it does shift in ways you don't expect. 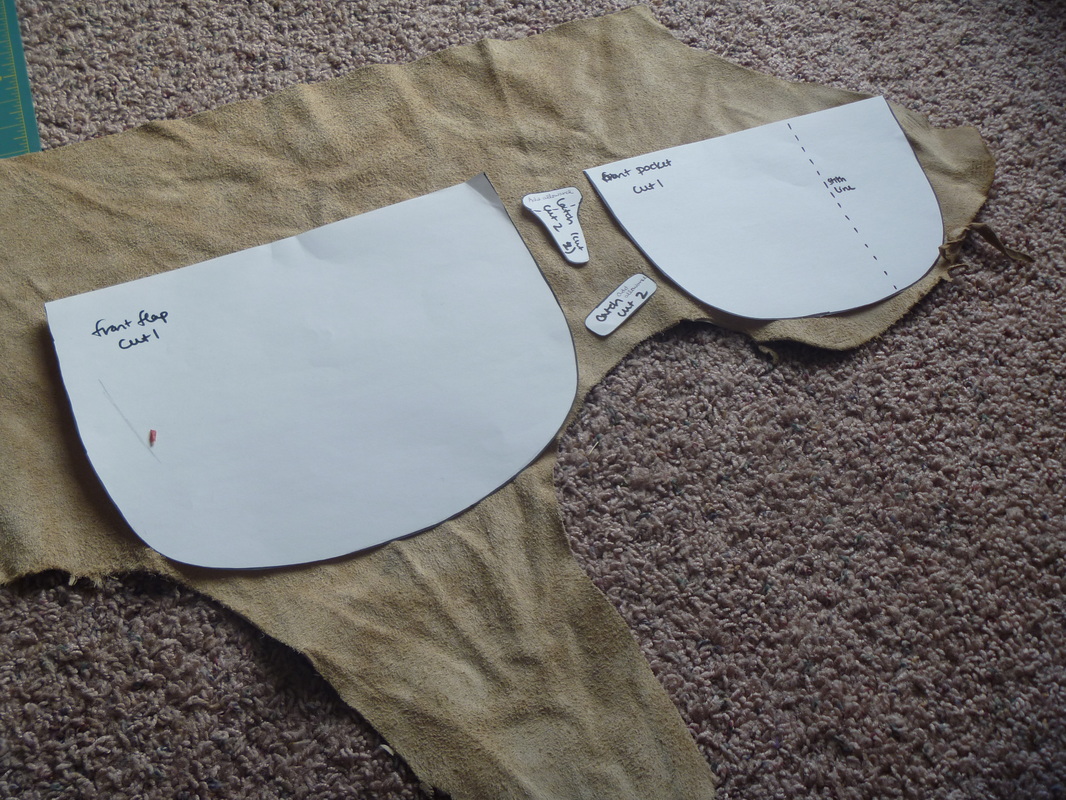
Step 2: Prepare to sew. Nope, no sewing yet. First I had to create holes for the thread, big enough for a heavy needle and small enough to not compromise the strength of the seam. It's recommended to use a diamond tipped awl, but as I didn't have one on hand, I used a heavy nail and hammer (on top of cardboard, of course, don't want to create holes in the work surface!) 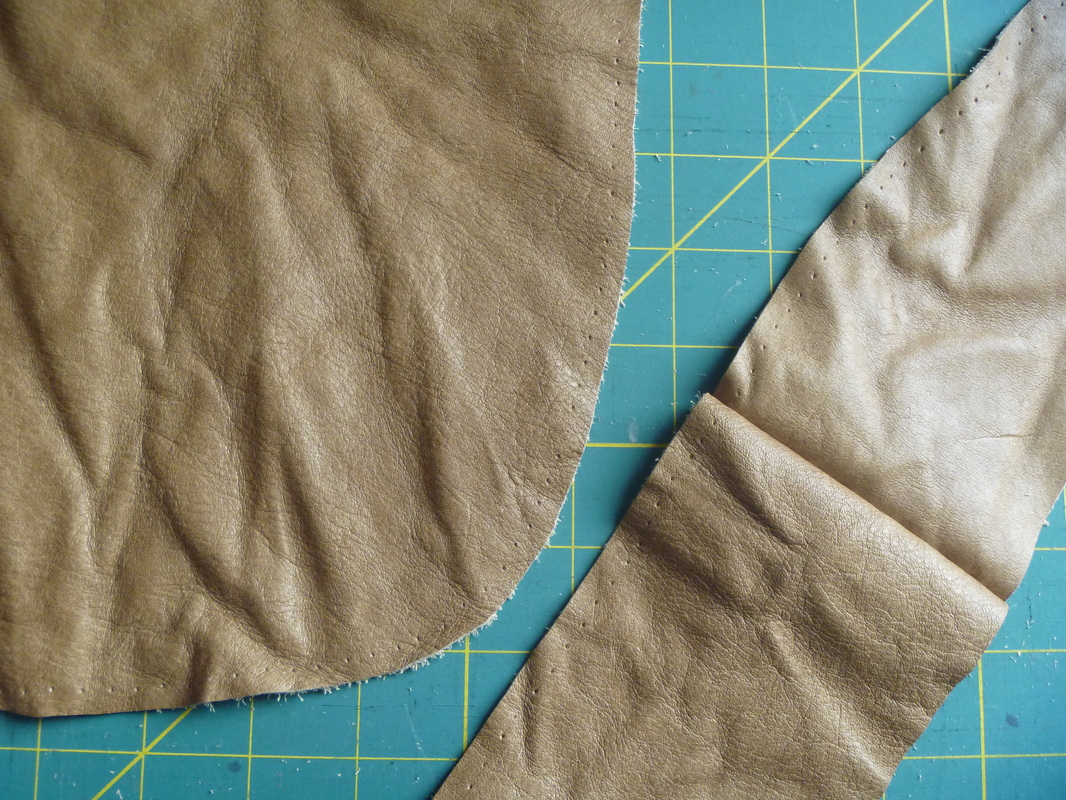
And then we get on to construction! Part 2 will be up as soon as the project is finished, hopefully within a few weeks!
0 Comments
This was a fun commission over the last couple of weeks. The idea was to create a wrap skirt with a tie, to be worn over a leotard for dance classes, that was a little bit longer than most available commercially. 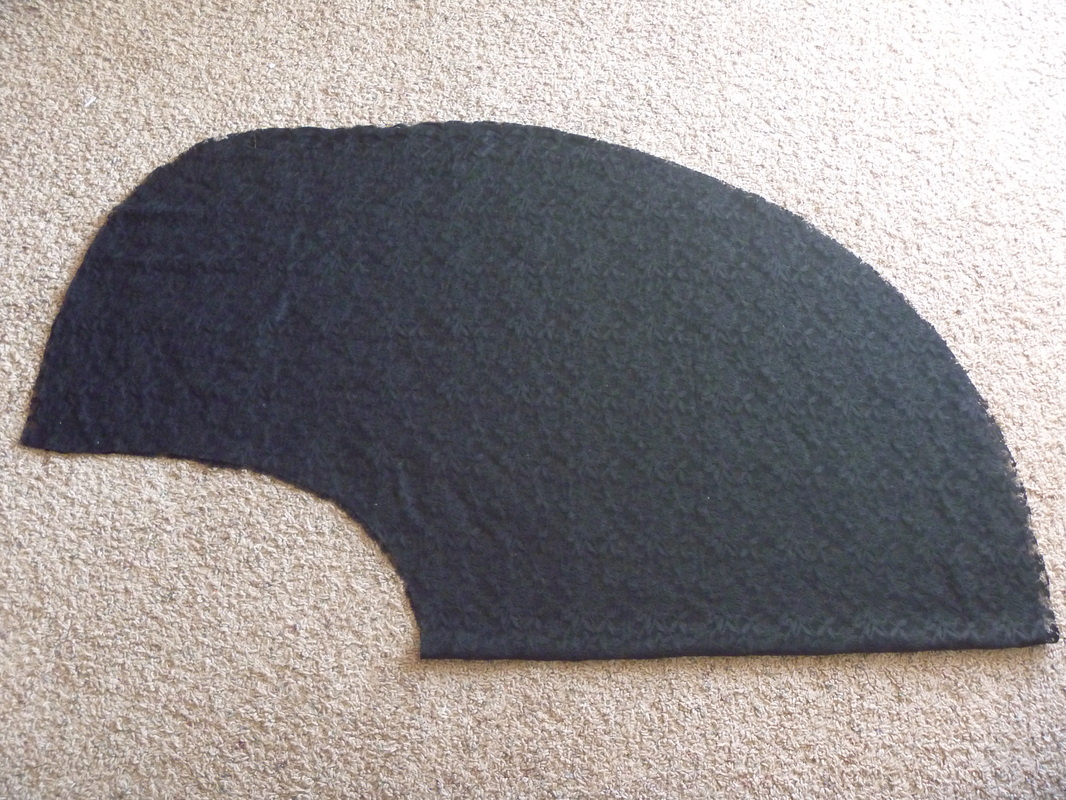 I used a denser, stretchy black lace cloth, here folded in half to cut out the basic shape, an elongated half circle. The front where it crosses over will be a little shorter, as you can see by the narrower section on the top left. Next, I attached the scalloped edge from the fabric along the hem, stitched it down along the top scallops, and trimmed the extra fabric. A narrow strip of the lace, folded over on itself, creates the waist tie. 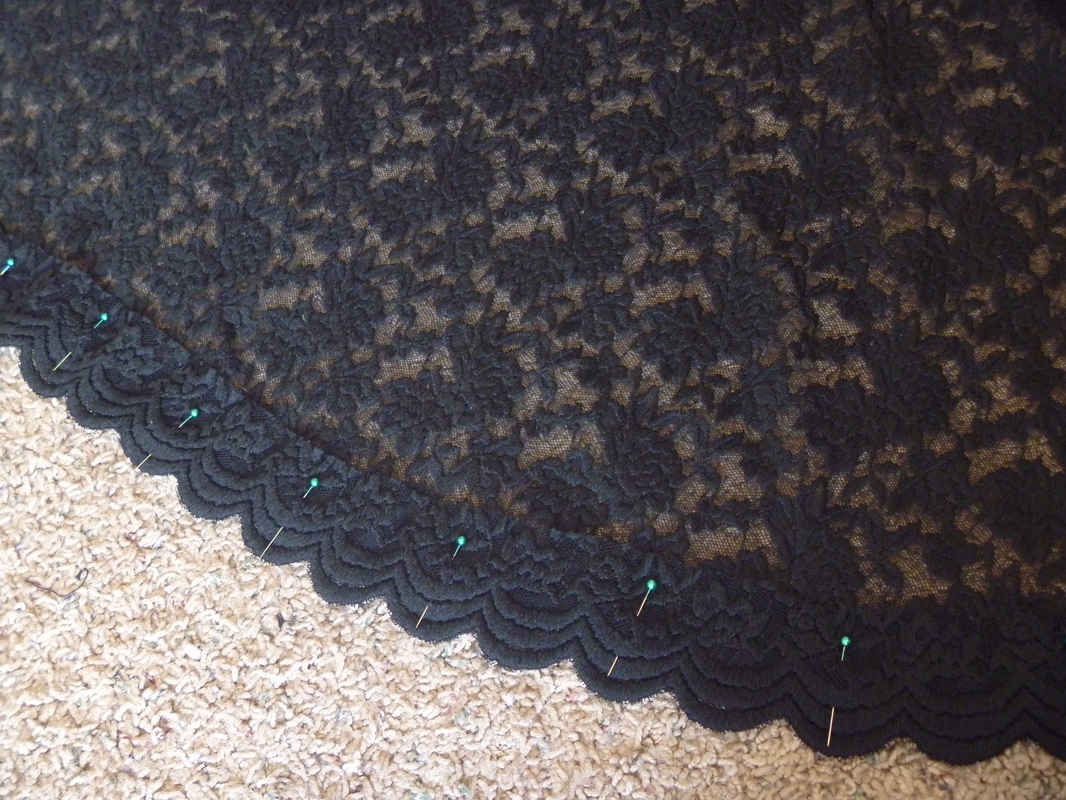
It's fairly simple to construct, you just have to be careful working with lace like this. The full circle gives plenty of flexibility for a dancer, and the length makes it a little more comfortable. 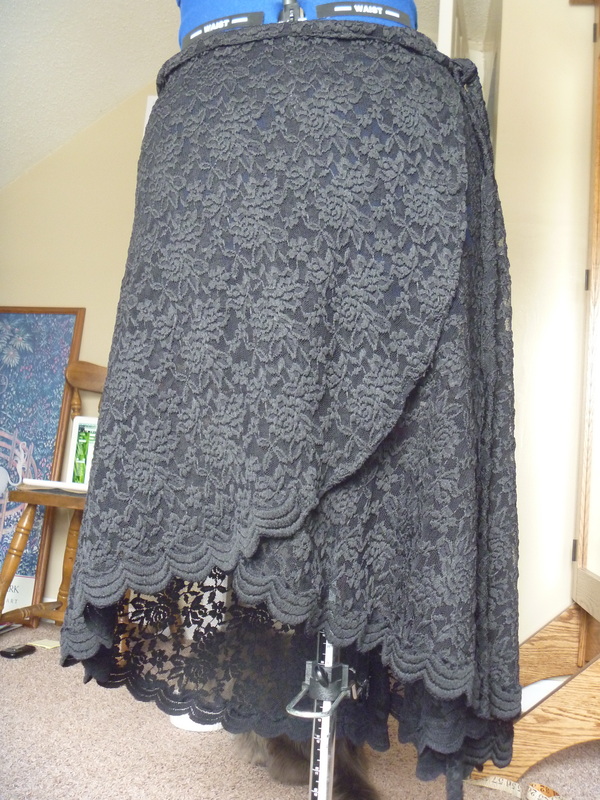
I can hardly wait to share my next project with you, a new material and product for me. Check back at the end of the week for Part 1 of a hand made leather satchel!
Happy Spring Break! Or as a friend of mine put it, Thaw Break! Remember my fascination with "running through the meadows" clothes? Maybe I should start to advertise it as a specialty - I just can't resist light cotton and vintage - looking lace. And this is no more true than for this piece, an airy cotton crop tank perfect for a summer evening out or maybe even a fun pajama top. Read on for lots of detail pictures and a few fun finishing techniques! I made this completely from scratch without a pattern, so I started by draping the cotton on my dress form to draw out the major lines and shape. As the cotton I had on hand was a pretty small piece, I also needed to make sure it would fit! I had a few garments in mind I was modeling it after. The biggest detail to pay attention to at this stage was the gathering I wanted along the back hem.
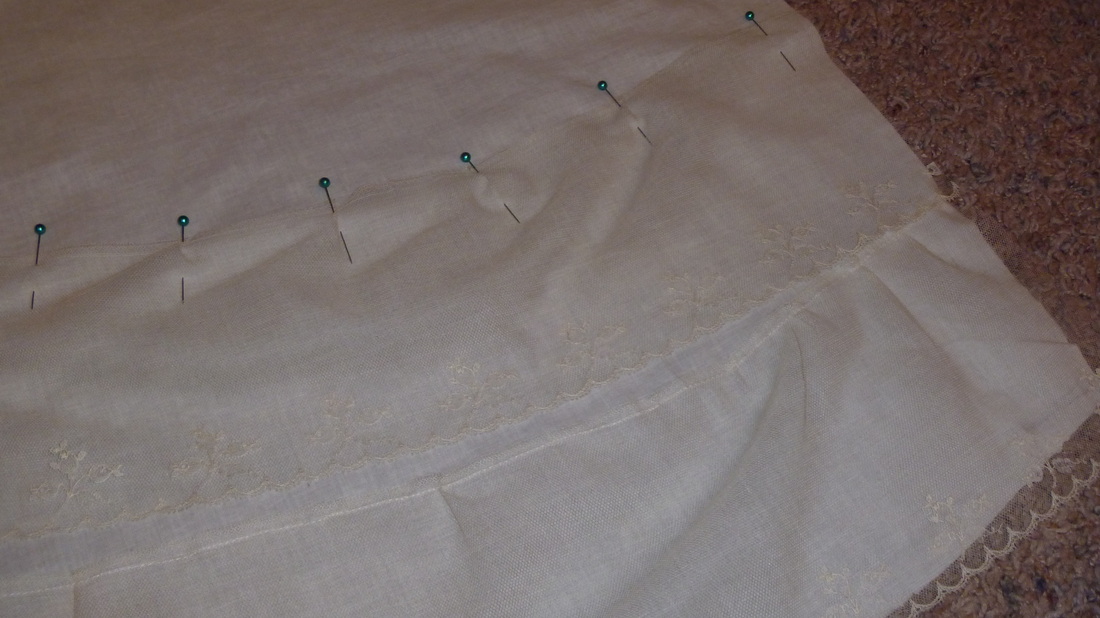 Once the pieces were cut out, the next step was the lace overlay, which would cover the whole thing. Tiny pin tucks helped shaped the wide lace to the curves of the front. I attached the main lace pieces before sewing the side seams, to keep them a little neater. It was the finishing touches that took the most time and attention for this piece. Check out the captions below each picture for more explanation! 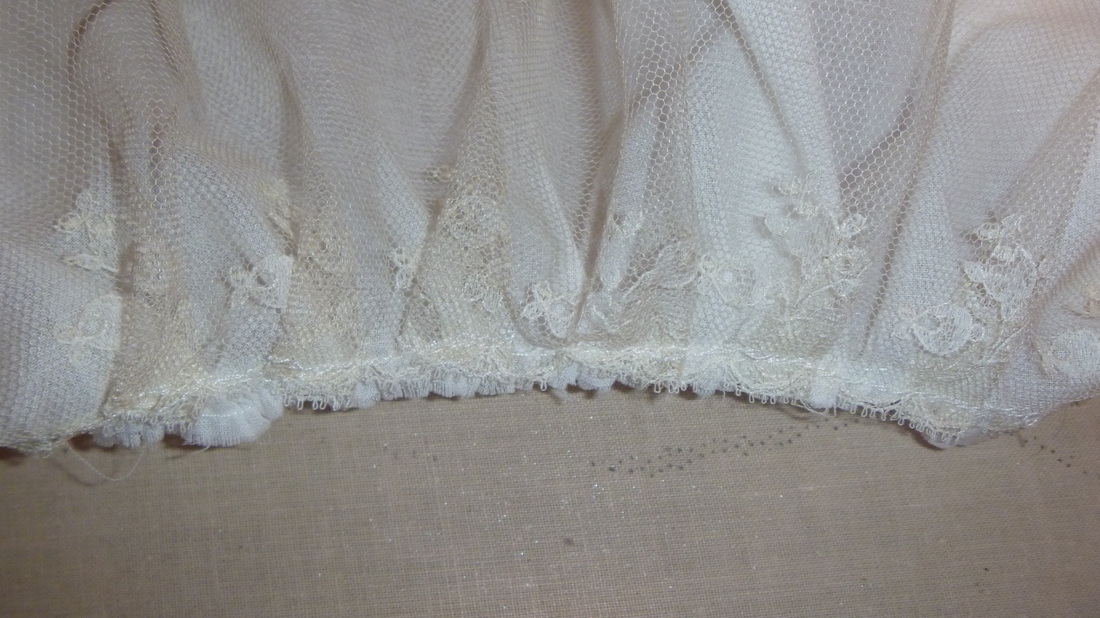
I gathered the cotton under layer in the center of the back cotton hem, and made small pleats in the lace over it.
A thin piece of lace finishes the bottom hem - and the wide lace on the front makes a second sheer layer over it.
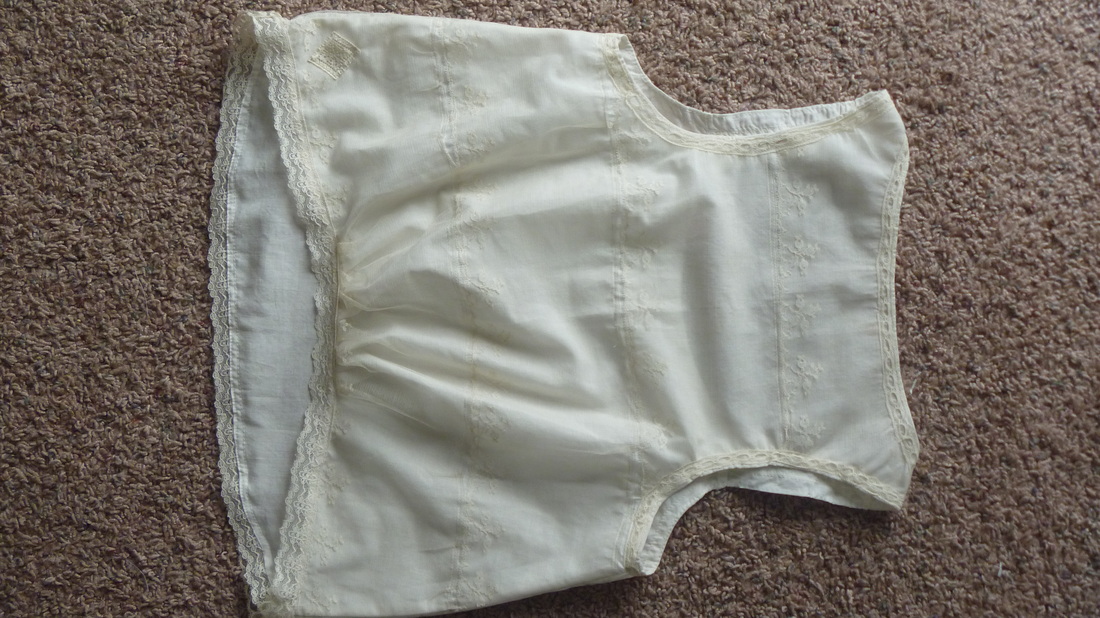
I wouldn't say this is exactly a recommended technique, but the neckline and armholes got a little stretched out, so I ran a fine gathering stitch right along the inner edge so it would lay flat against the body.
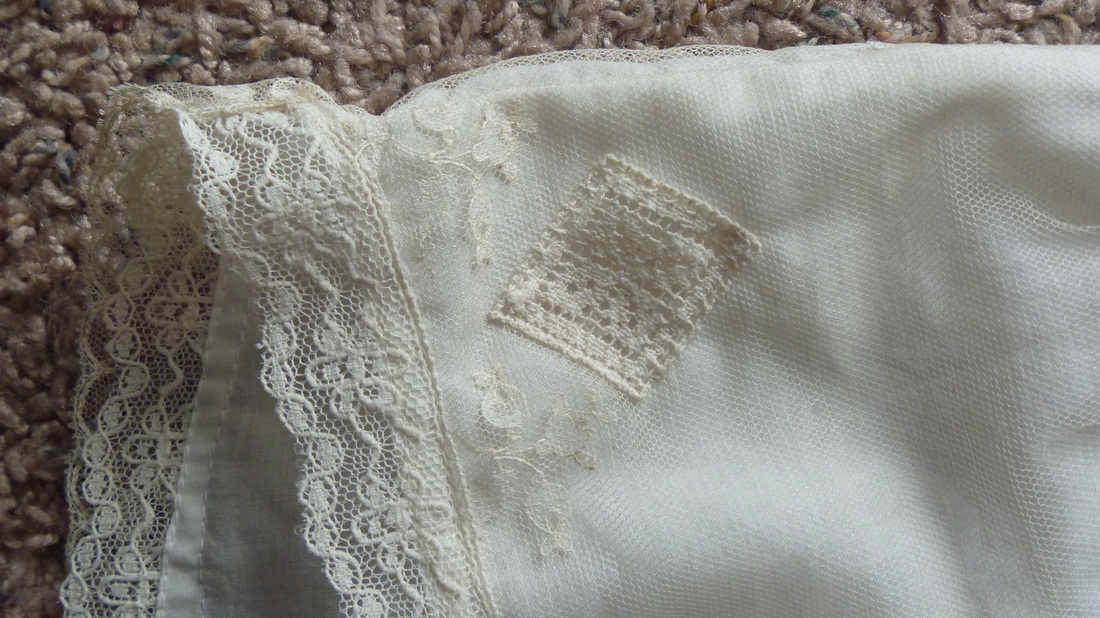
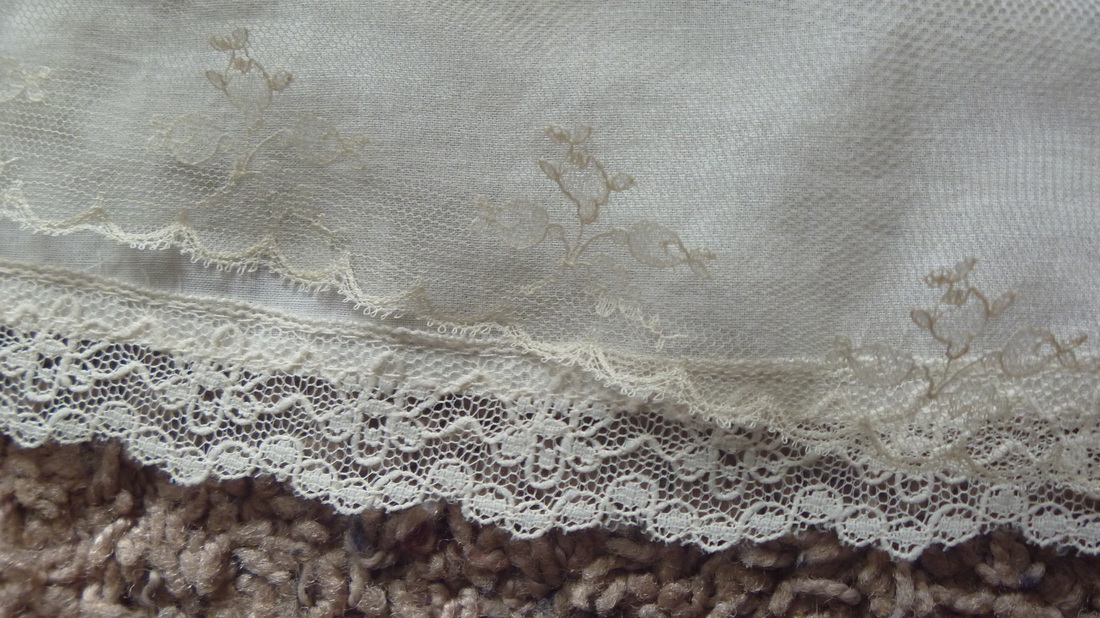
As a unique touch, I added a small vintage lace piece to the bottom back hem. It's all in the details!
And the finished product, front and back! I tried to turn the pictures right side up - but it's not cooperating today. Now I just need to find the patience to wait until it's a little warmer to wear it! 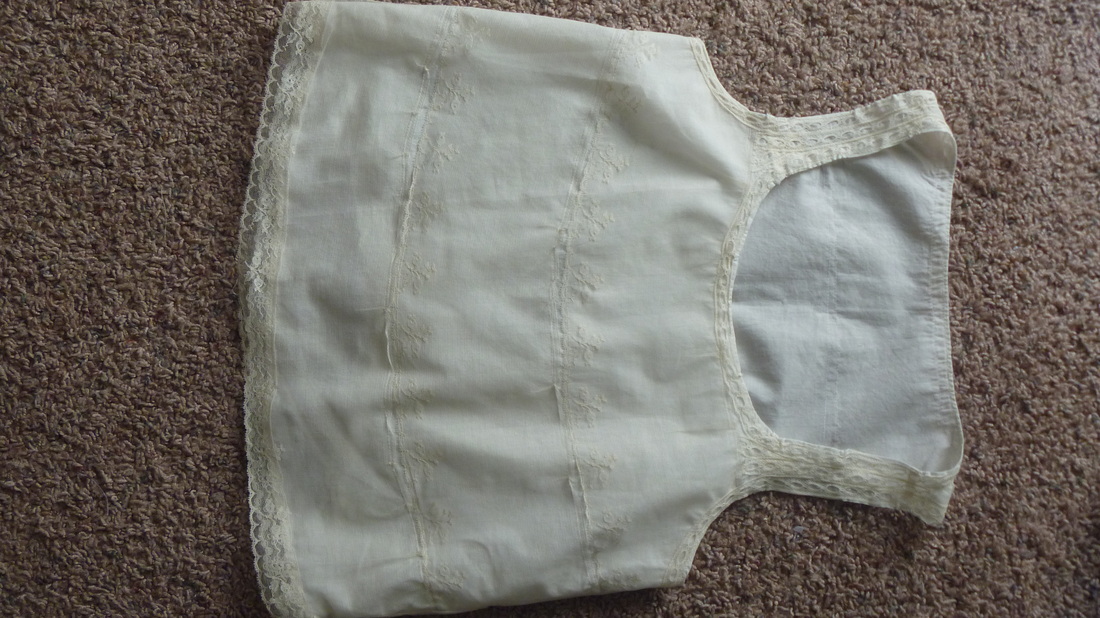
|
Design BlogThis is the place to find projects in process and get a glimpse inside of my work. Archives
December 2020
Categories
All
|
 RSS Feed
