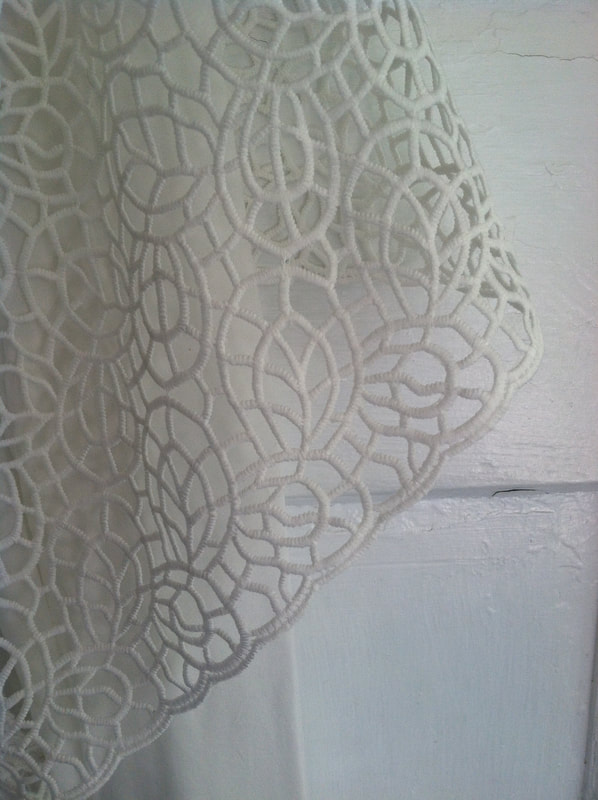
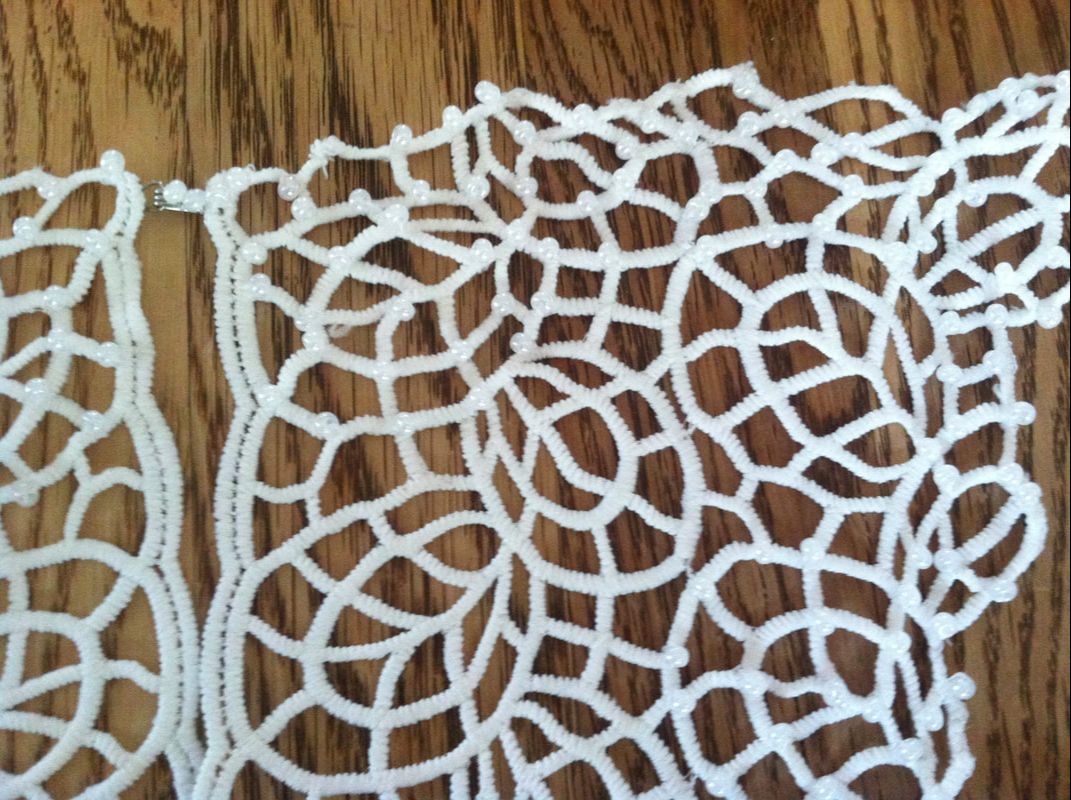
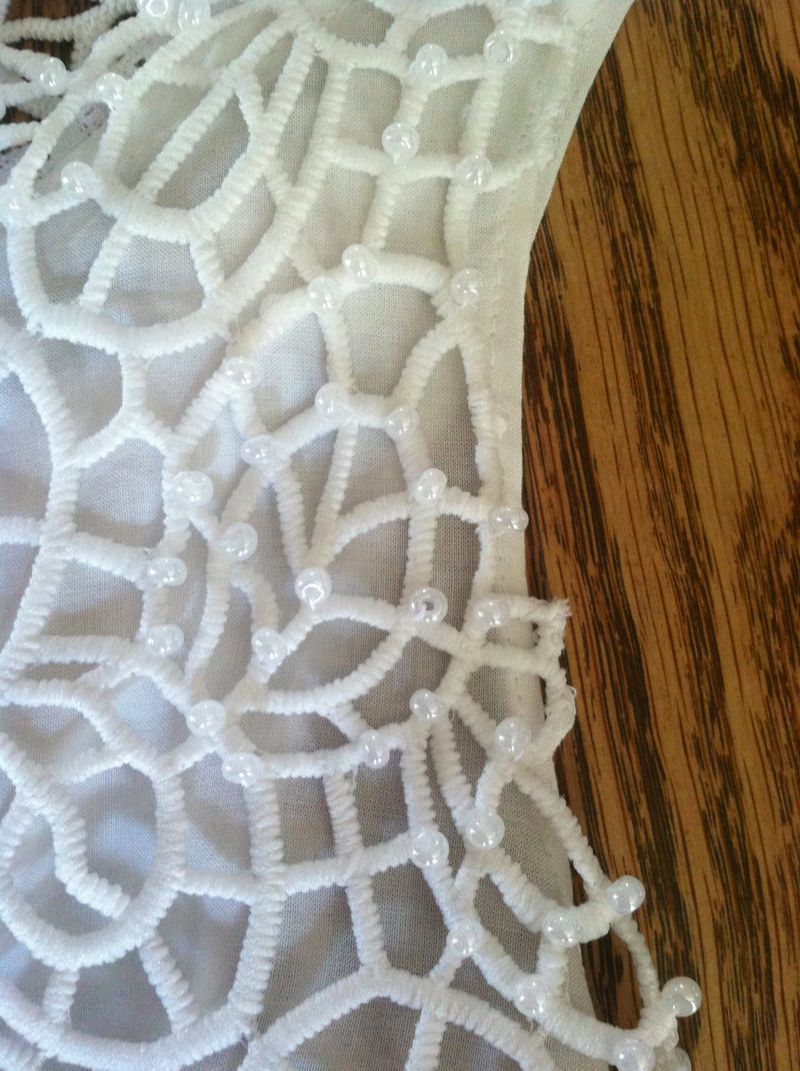
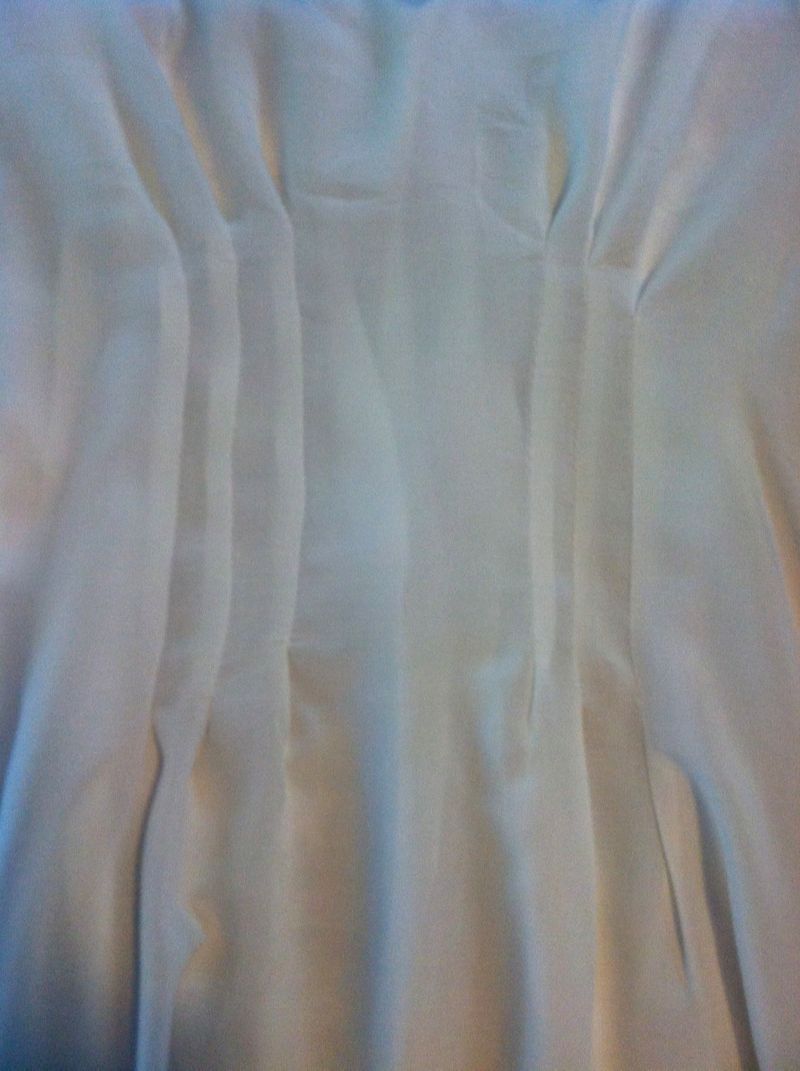
 I've just finished the lace overlay for the dress! I took my time with this piece, as the lace I used was quite unique, and I wanted to craft the design around the material. It has a bit of body to it, which allowed me to create some unusual draping. As the pattern of the lace is quite bold, I kept the lines of the piece very simple, to let the pattern take center stage. The lace forms a long bodice over the lightweight cotton under layer. In my original sketch, I had included flutter sleeves in the lace, but as I worked with it, I decided that a sleeveless design would be better suited. I also added a sprinkling of tiny pearl embellishments around the neckline, arms, and waist. The front lies almost flat against the cotton dress, with a little more fullness in the back, forming the idea of a train. 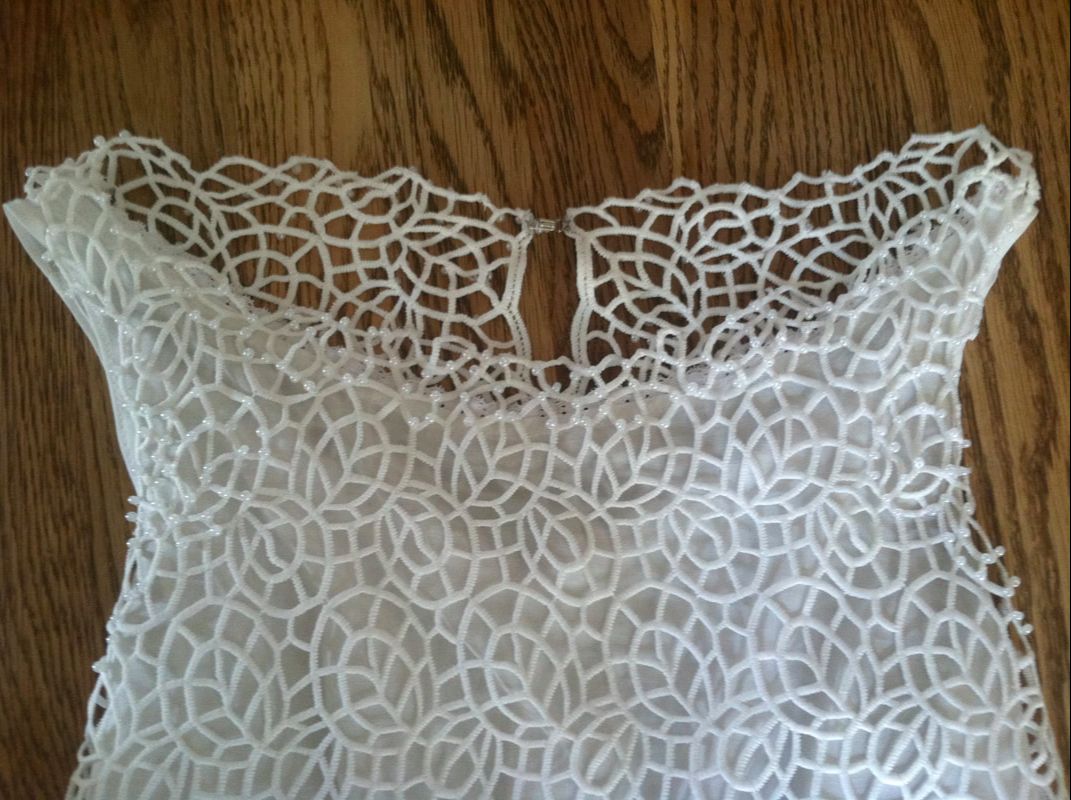 Front of the lace over the cotton dress. To finish the edges, I trimmed the material along of the lines of the lace and finished it by hand.
0 Comments
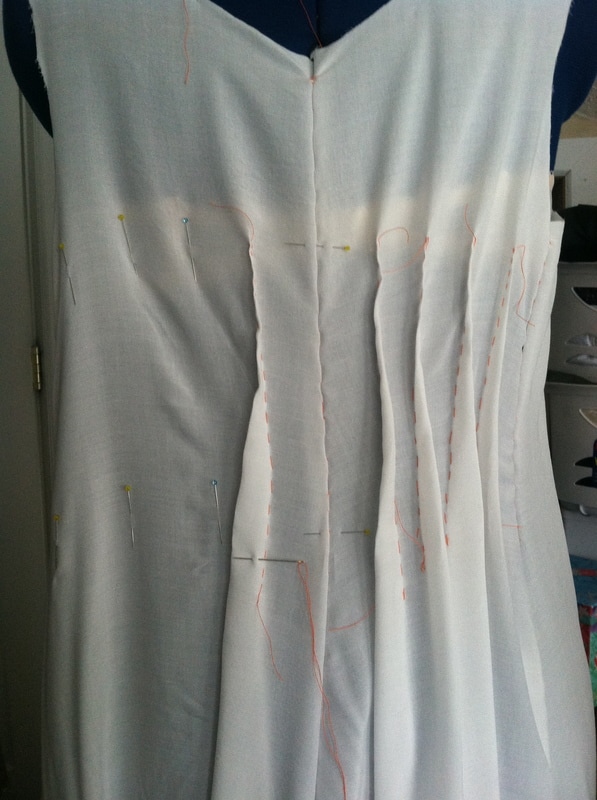
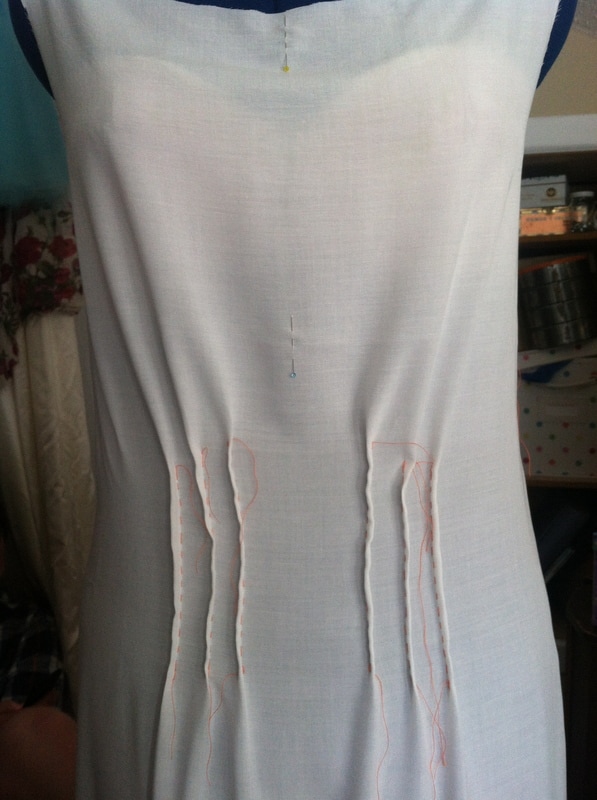
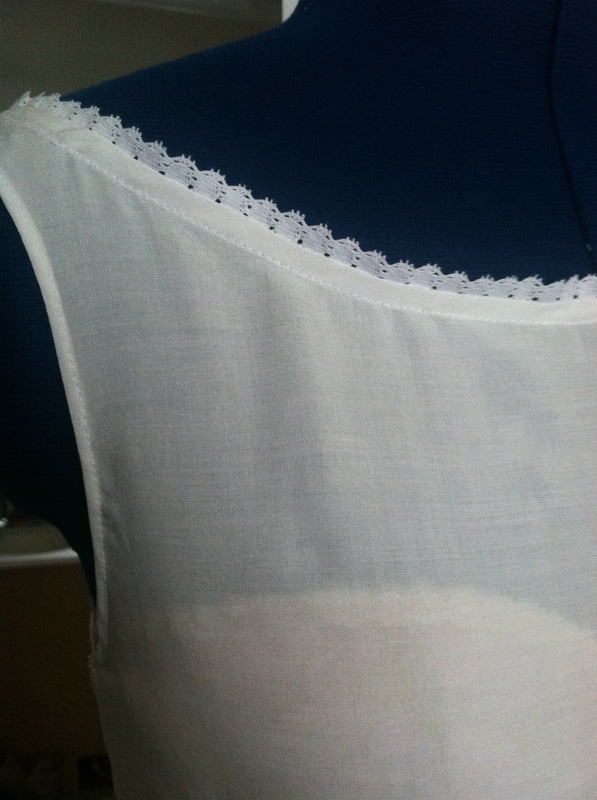
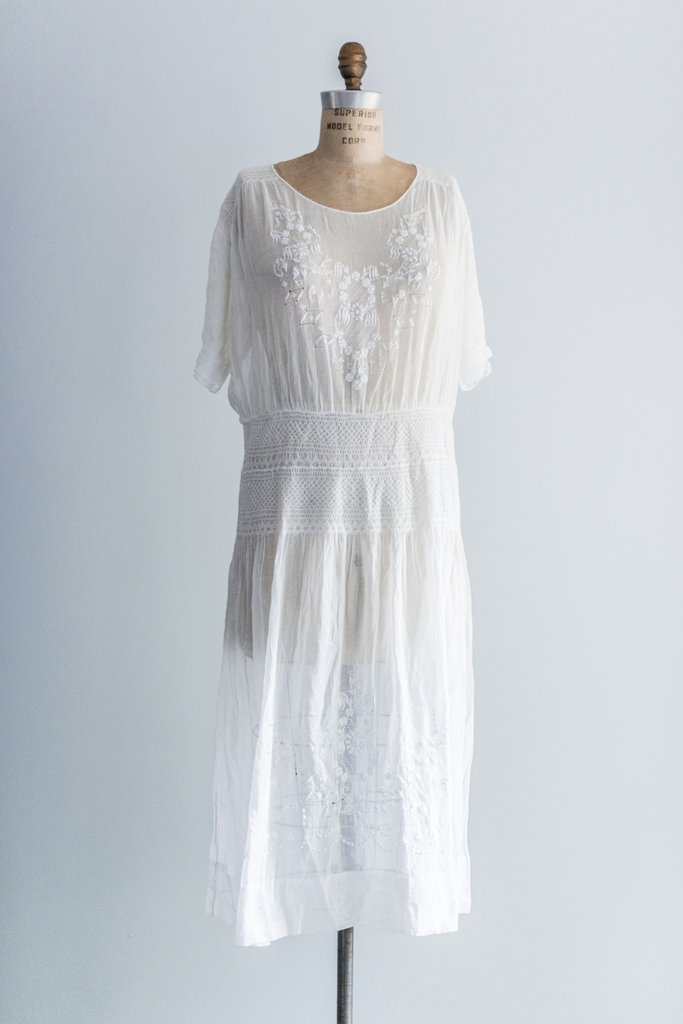 https://shopgossamer.com/products/1920s-boho-embroidered-smocked-day-dress-m-l https://shopgossamer.com/products/1920s-boho-embroidered-smocked-day-dress-m-l One interesting challenge in creating vintage-inspired designs is finding a balance between period accuracy and a modern aesthetic. There are some vintage silhouettes and details that would simply make a piece look outdated. When I'm creating something to be worn and not just admired, it's important that it fits enough in the modern world to be comfortable and flattering, while staying true to the period enough to make it unique and a bit timeless. For this gown, that means softening and defining the boyish 1920's silhouette for a modern, feminine bride. Building has begun! The first step is creating my base layer, from an airy white cotton voile. The material is so fine it's almost translucent, and reminiscent of lovely. light muslin day dresses, like this one. I'm draping this piece directly onto my dress form, hand basting seams, and then fitting and sewing it. I started this design with a very basic outline of the dress and the material, and I'm developing those ideas with the material rather than on paper. Check out the first part of this series for a look at the initial design. In keeping with the 1920's inspiration, I'll be focusing on a softly feminine shape with long, lean lines; a mixture of curved and straight lines and shapes incorporating the movement of the floral lace and geometry of art deco styles; and the light and freshness of an afternoon garden party. Once the base layer is completed I'll begin to build the lace layer over it. Keep up to date with my progress on instagram - @hannahpantano!
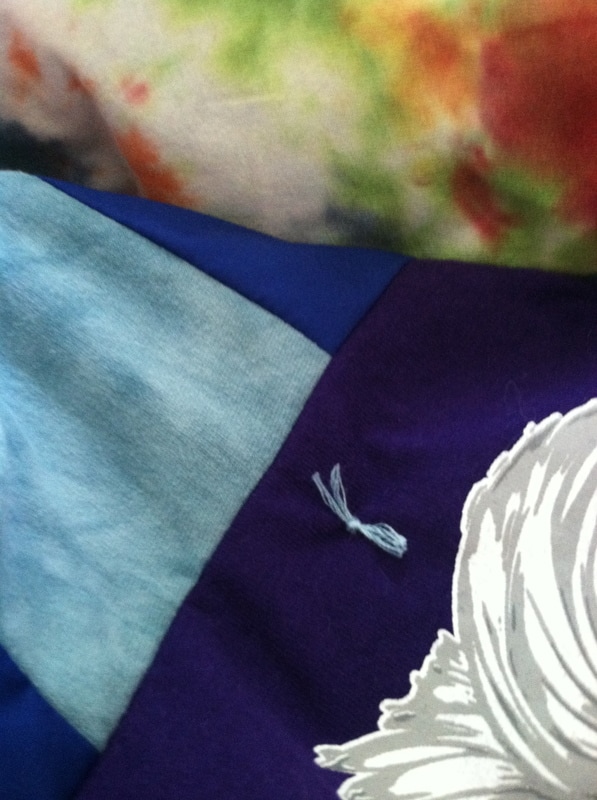 I love the way the colors complement each other throughout the quilt, especially the different tie dye blocks. I love the way the colors complement each other throughout the quilt, especially the different tie dye blocks. The next step on the tee shirt quilt was to sew the top together, including a contrasting cotton in between some of the tee shirt squares. With a crazy quilt design like I used, the most challenging part was figuring out in what order to sew all the different sized pieces together, to maintain neat corners and the correct layout. I realized part way through that laying out the quilt pieces in a different room than my sewing machine wasn't the most efficient way to do this, but I got some exercise going back and forth between every few pieces to check my placement! Once the top was finished and pressed, I laid out the backing, batting, and top, and safety pinned the layers to keep it smooth as I tied the quilt. I used a little bit lighter blue embroidery thread for some contrast without adding too much more color. I wanted the focus to stay on the shirts and the memories they represented! The last step was trimming the edges and binding the quilt. I found a pre-cut binding in the same shade as my backing material, which made it a much quicker process than if I had cut my own. And we have a finished quilt! 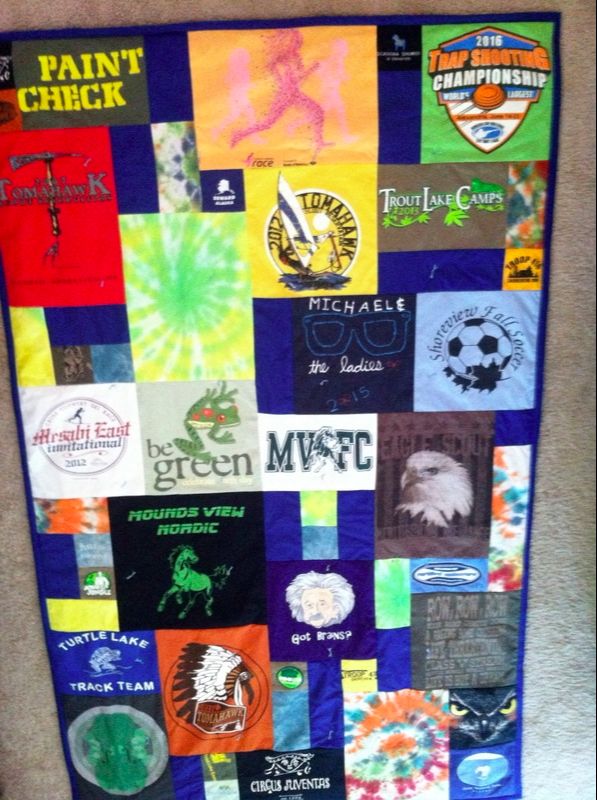 |
Design BlogThis is the place to find projects in process and get a glimpse inside of my work. Archives
December 2020
Categories
All
|
 RSS Feed
